
A diy bookcase makeover refreshes a bookcase with cleaning, sanding, primer, paint, and a new back panel in wallpaper or a bold colour. Remove the shelves, prep and paint the frame, line the back, and restyle it, and a unit can look custom rather than flat-pack.
Key Takeaways
- Preparation decides the result: cleaning, light sanding, and primer stop paint peeling.
- Paint the frame and shelves separately, in thin coats, for a smooth finish.
- The back panel does the most visual work: wallpaper or a contrasting colour changes the piece.
- Let paint dry between coats and cure before reloading heavy books.
- A sagging or swollen bookcase needs repair or replacement, not just paint.
What Should I Decide Before I Start a DIY Bookcase Makeover?
Start with the material, not the paint colour. Solid wood takes paint well after light sanding; laminate is slick, so it needs a dull, keyed surface and a bonding primer for glossy surfaces, and must never be sanded through its thin top layer.
Next, decide the scope. A simple refresh — clean, prime, paint, and new knobs — is a weekend job; wallpaper on the back or trim on the front edges takes longer but looks far more deliberate. If the piece is part of a bigger room refresh, broader decoradhouse renovation tips from decoratoradvice can help you place it in the wider plan before you commit to a colour.
Choose the colour with the room in mind: the wall colour looks built-in, a contrasting colour makes a feature. Dark colours show dust and scuffs, so test a swatch inside a side panel in daylight and evening first.
Finally, check the structure. Tighten loose joints, check shelves sit level, and look for swelling at the bottom, which usually means past water damage. Paint will not fix a bowing shelf or a loose back panel.
What Tools and Materials Do I Need?
- Tape measure, pencil, and painter’s tape
- Screwdriver, for shelves, hardware, and back panel screws
- 180- to 220-grit sandpaper or a sanding sponge, plus a tack cloth
- Degreaser or mild detergent, cloths, and a vacuum
- Wood filler and a putty knife, for dents and old screw holes
- Bonding primer suited to your surface, and a furniture or cabinet paint
- Small foam roller, angled brush, paint tray, and drop cloths
- Peel-and-stick or pasted wallpaper for the back panel, scissors, a straightedge, and a smoothing tool
- Optional: new knobs or handles, trim strips, and a clear topcoat for heavy-use shelves
For book shelves, a harder-wearing satin or semi-gloss cabinet paint is practical, since flat paint marks easily. Always follow the paint and primer labels for drying times, since products vary.
Table 1: Bookcase Makeover Finishes Compared
| Finish | Best for | Watch out for |
|---|---|---|
| Painted frame, same colour as walls | A built-in, calm look | Poor prep peels, especially on laminate |
| Painted frame with a bold back panel | A feature piece that shows off books and objects | A very dark back can weigh down a small room |
| Wallpaper back panel | Pattern and personality without painting the whole room | Pattern must line up if shelves are fixed |
How Do I Prep and Paint a Bookcase Step by Step?
Work in a well-ventilated room, on drop cloths, wearing a dust mask and safety glasses for sanding. Photograph shelf and hardware positions before dismantling, to ease reassembly.
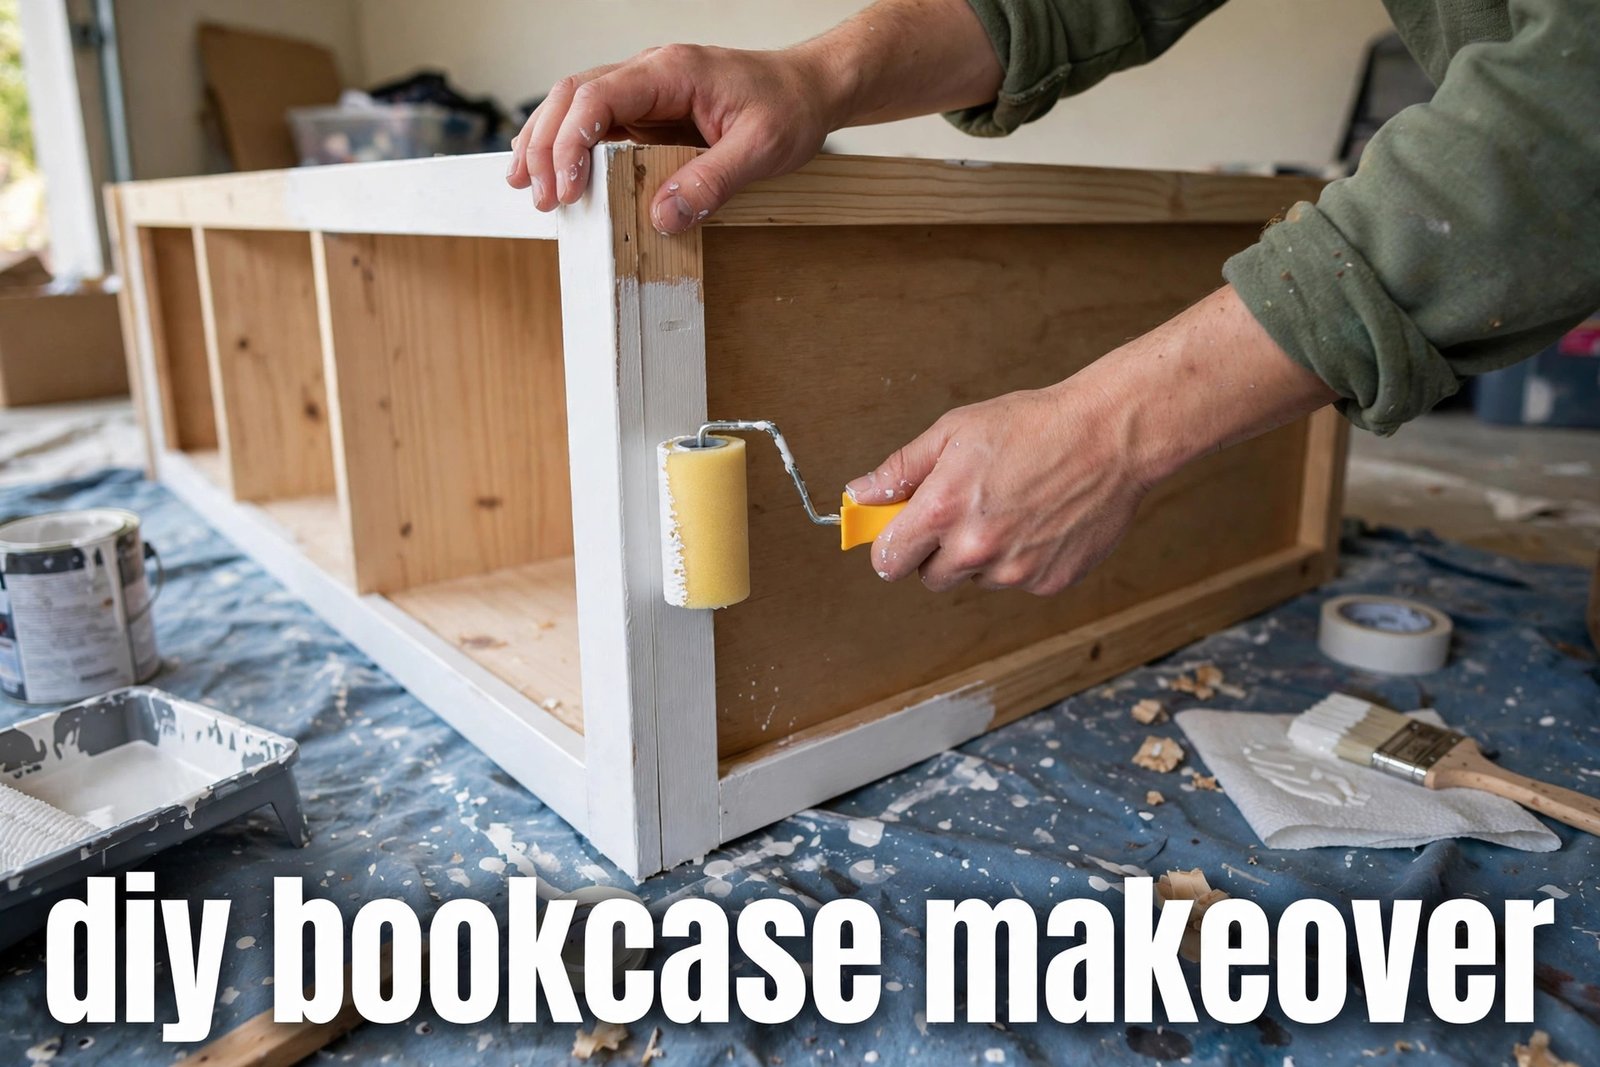
- Empty and dismantle. Remove books, adjustable shelves, knobs, handles, and the back panel if it comes off separately. Label each shelf on its underside.
- Clean first. Wipe every surface with a degreaser or mild detergent solution, especially around handles, where oils build up. Dirt and grease stop paint sticking. Let it dry fully.
- Repair, then sand. Fill dents and screw holes, let the filler dry, and sand it flush. Then lightly sand all paint surfaces with 180- to 220-grit paper — on laminate, just dull the shine, never sand through it. Vacuum and wipe with a tack cloth.
- Prime. Apply one thin, even coat of bonding primer — foam roller on flats, brush in corners. On laminate, a primer made for glossy surfaces is what stops later chipping. Let it dry as the label directs (many primers need 2 to 4 hours as a practical guide), then sand very lightly if rough, and wipe again.
- Paint in thin coats. Apply two thin coats rather than one thick coat, which drips and dries slowly. Roll flats, brush corners and edges, and do not overwork paint once it starts to set, or it will drag and bubble. Sand lightly between coats and let each dry fully.
- Protect and cure. A clear topcoat adds durability on heavy-use shelves but is optional on a display piece. This step is often rushed: paint can feel dry in hours yet stay soft for days. As a practical estimate, wait at least 48 hours before light use and up to a week before heavy books, and treat the finish gently for up to 30 days while it hardens, following your paint label where it differs.
- Reassemble and anchor. Refit shelves and hardware, then fix a tall bookcase to the wall with an anti-tip strap or bracket, following its instructions — especially in a home with children.
How Do I Add Wallpaper to the Back Panel?
Wallpapering the back is the highest-impact, lowest-skill part of most makeovers. Remove the shelves if you can to paper the back in one piece; if shelves are fixed, treat each section as its own panel and measure each separately, since older bookcases are rarely square.
Clean and lightly sand the back panel first, then prime it if the paper is heavy or the surface is absorbent, and let the primer dry fully. For peel-and-stick paper, peel back only the first few inches, line the top up with a little extra above the panel, and smooth downward, working out air bubbles as you go. For pasted paper, follow its own instructions. Cut each piece a couple of inches larger than the opening in each direction — a safe practical allowance — and trim the excess with a sharp utility knife against a straightedge once fixed. If the pattern repeats, line it up at the centre so the design looks intentional.
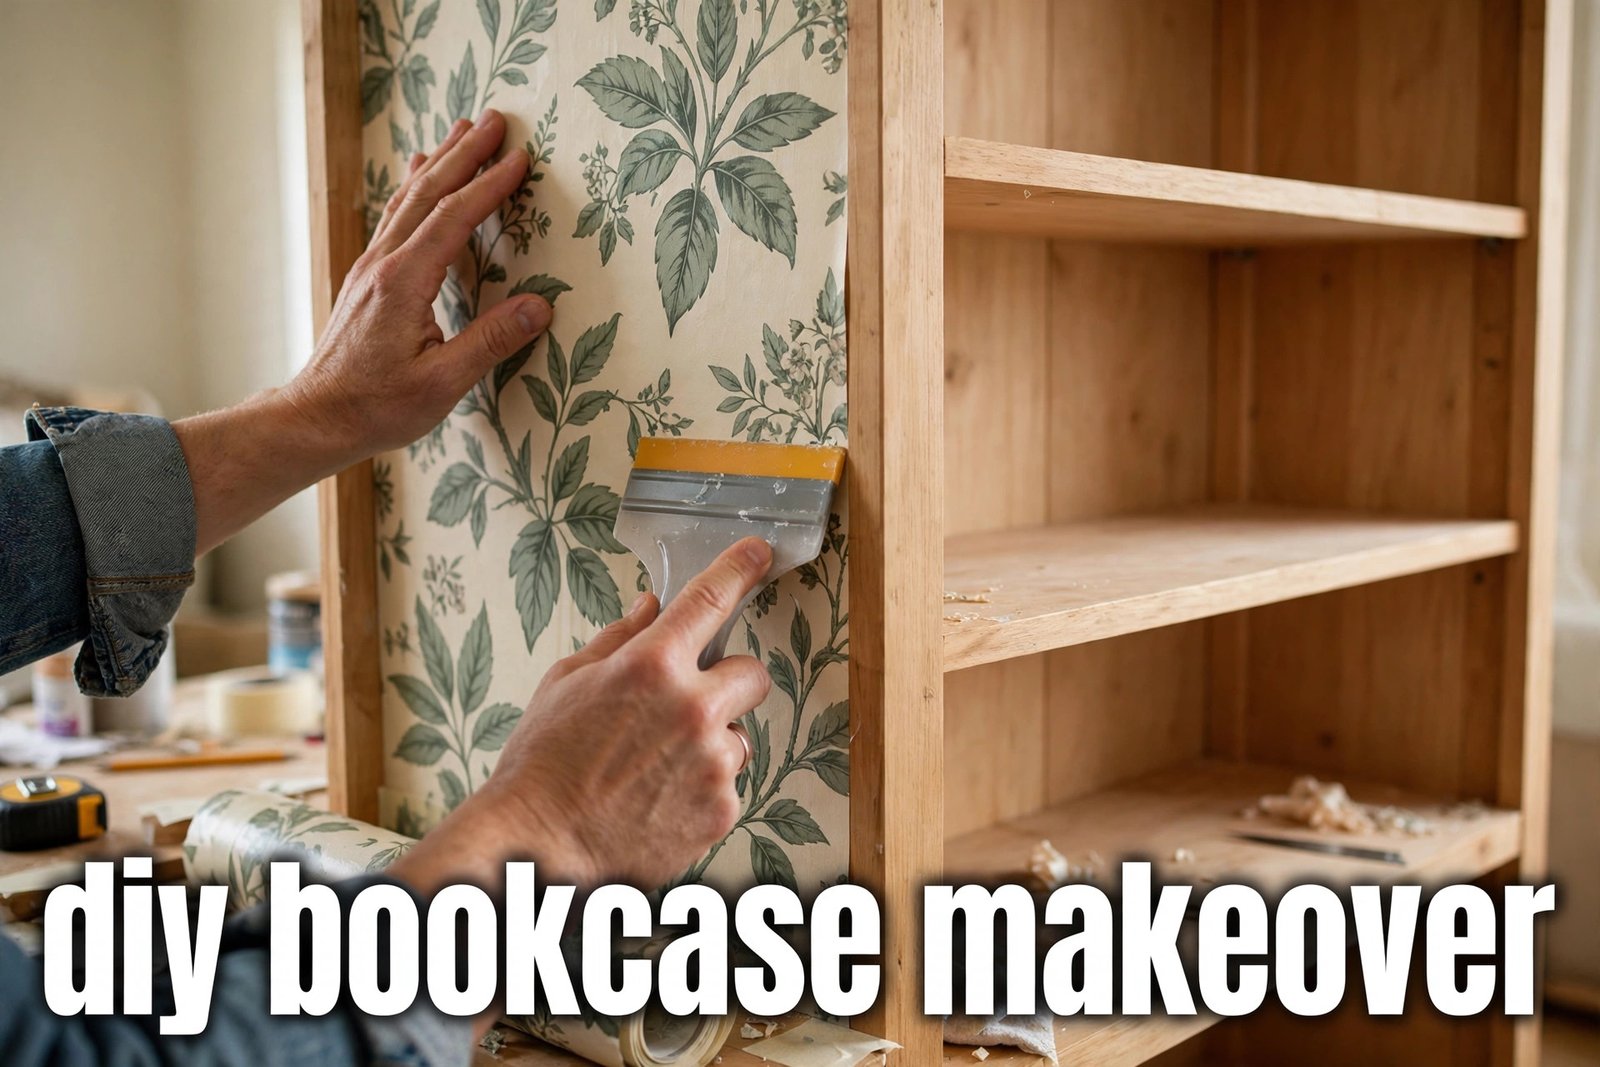
Before buying, measure the full back panel area rather than guessing from the outside size, and a Wallpaper Calculator can help you work out how much paper to order. Order a little extra for a miscut or future repair. If the bookcase is an heirloom or you rent, paper a piece of card cut to size and fix it with double-sided tape instead, so the change is fully reversible.
How Should I Style a Bookcase After the Makeover?
Restyle slowly. Group books rather than filling every shelf edge to edge, leave breathing space, mix horizontal stacks with upright rows, and add one or two objects per shelf rather than a row of ornaments. Heavier books belong low.
If you are unsure what belongs where, decoration tips decoradhouse from decoratoradvice can help you think about balance and colour before you fill every shelf. Stand back and check the whole piece: one overcrowded shelf or clashing colour will draw the eye.
When Is a Bookcase Makeover Not Worth It?
Paint cannot rescue every bookcase. Skip a makeover if the carcass is swollen from water damage, particleboard is crumbling, shelves bow even when empty, or a missing back panel lets the frame rack sideways. Repair the structure first — a new back, a centre support, or shelf stiffeners — or replace the piece. For a valuable antique or fragile veneer, cleaning and styling alone are safer; consult a furniture restorer before touching it.
Safety matters too. Do not sand a finish you suspect contains lead paint — a risk on pre-late-1970s furniture; if in doubt, get advice first. Do not paint over mould: fix the moisture source, clean as the label directs, and let it dry fully. For a wired built-in, switch power off at the breaker and call a qualified electrician.
Table 2: Common Bookcase Makeover Problems and Fixes
| Problem | Likely cause | Fix |
|---|---|---|
| Paint chips or peels | Dirty or glossy surface, wrong primer | Strip, clean, sand dull, re-prime, repaint |
| Brush marks and drips | Coat applied too thickly, paint overworked | Sand smooth, then thin coats with a foam roller |
| Wallpaper bubbles or lifting edges | Dusty back panel, paper pressed too firmly too soon | Smooth out while fresh; re-stick edges, trim cleanly |
| Shelves stick to the frame | Books loaded before the paint cured | Keep shelves apart until cured; ease apart gently, touch up |
| Sagging shelves after reloading | Span too long for the load | Add a centre support, or move heavy books lower |
Frequently Asked Questions
Can I paint a laminate bookcase?
Yes, with proper prep: clean it, sand lightly to dull the shine without breaking through the top layer, and use a bonding primer made for glossy surfaces. Skipping primer is the usual reason laminate paint peels.
Do I need to sand before painting a wooden bookcase?
Yes, a light sanding helps paint grip and smooths small imperfections. Use 180- to 220-grit paper, vacuum the dust, and wipe with a tack cloth before priming.
How long should I wait before putting books back?
Follow your paint label first. As a practical estimate, wait at least 48 hours for light use and up to a week before heavy books, treating the finish gently for up to 30 days while it hardens.
Should I wallpaper the back before or after painting the frame?
Either works, but painting the frame first is usually tidier. If you paper first, mask the paper carefully before painting.
Can I make over a bookcase without removing the shelves?
Yes, but slower: treat each section between fixed shelves separately, measure each on its own, and expect trickier cutting and more visible joins.
Conclusion
A diy bookcase makeover works best when preparation comes first: clean, repair, sand lightly, prime for your surface, and paint in thin coats. Add a wallpaper or contrasting back panel, let the finish cure before reloading, and style the shelves with space to breathe. For more home ideas, visit HOMEZEL.