A diy bookshelf is a sturdy bookcase you build from boards or plywood, sized to your books and finished to suit your room. Measure your tallest books, cut 3/4-inch shelves to spans of about 30 inches, assemble the box square, add a back panel, and anchor it to wall studs.
Key Takeaways
- Depth of 10 to 12 inches suits most books; 3/4-inch material is the practical minimum.
- Keep spans around 30 to 32 inches, or add a divider or front trim on wider units.
- A back panel keeps the case square; heavy books go low, and a tall case must be anchored.
What Size Should a DIY Bookshelf Be?
Start with your books. Measure your tallest hardcovers, widest art books, and any binders, then leave at least an inch of clearance above each row so books slide out without scraping. A workable first build is about 72 inches tall, 30 inches wide, and 11 1/4 to 12 inches deep, giving five openings.
Do not space shelves evenly: bottom row tallest, middle rows hardcover height (11 to 12 inches clear), top row paperback height (9 to 10 inches). Also measure the wall, including baseboards and outlets.
Which Material Is Best for a DIY Bookshelf?
For most beginners, 3/4-inch plywood is the best balance of strength, stability, and cost: it resists warping, and hardwood plywood takes a stain well. Pine is budget-friendly, poplar paints beautifully, and solid hardwood looks wonderful but costs more and can move with humidity, so check boards are straight and dry.
MDF paints smoothly and is cheaper, but it is heavier, weaker over long spans, and swells if wet; it suits a painted case in a dry room only if spans are short and edges are sealed. Particleboard is weakest for books, so use it for light display only. Never use shelves thinner than 3/4 inch for books unless the span is very short.
| Material | Best for | Watch out for |
|---|---|---|
| 3/4-inch plywood | Strong, stable first case | Edges need banding or a face frame |
| Pine | Budget build, warm look | Wide boards can bow if damp |
| Poplar | Smooth painted finish | Dents easily |
| MDF | Cheap painted case, dry rooms | Heavy, weak on long spans, swells if wet |
How Do I Build a DIY Bookshelf Step by Step?
You need a tape measure, square, pencil, saw, drill, screws, glue, clamps, stud finder, 120- and 220-grit sandpaper, and safety glasses. Work flat, with a helper for panels.
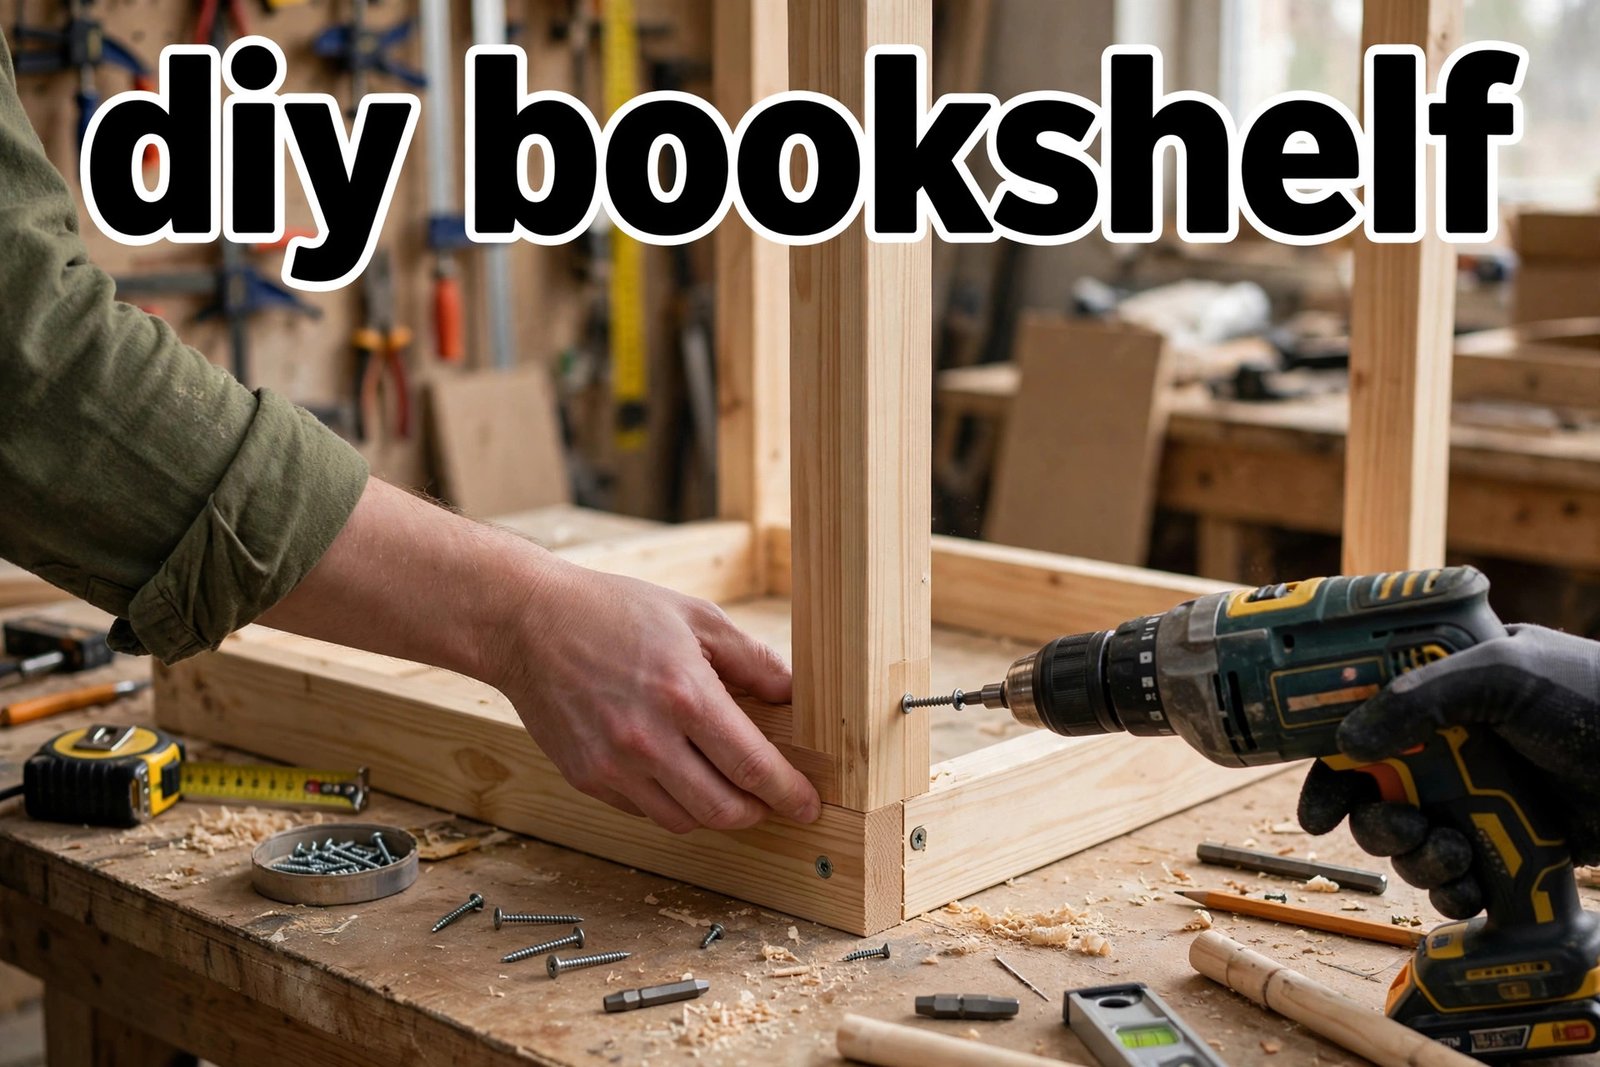
- Cut. Cut two sides, a top, a bottom, and four fixed shelves from 3/4-inch material, plus a 1/4-inch plywood back panel. Label every piece.
- Mark. Lay one side flat, mark each shelf height, and transfer the marks to the second side with a square so both sides match.
- Glue and screw. Pre-drill to avoid splitting near board ends, spread a thin layer of glue on each joint, then drive screws through the sides into the shelf ends.
- Square it. Before the glue sets, measure diagonally across the back. If the measurements match, the case is square; if not, push the longer diagonal in until they agree.
- Add the back. Fix the back panel with screws or nails around the edge. This does more for rigidity than almost anything else, so do not skip it.
- Finish the front. A slim solid-wood face frame, glued and pinned to the front, hides plywood layers and stiffens shelves. Alternatively, iron on edge banding, trim it, and sand it flush.
- Sand and finish. Sand with 120, then 220 grit, and wipe away dust. Let coats dry overnight where the label allows, and let the final coat cure fully (at least 24 hours for paint as a practical estimate) before loading books.
- Anchor first. Level the case with shims if needed, and anchor it to the wall (next section) before putting a single book on it.
For styling ideas, see wutawhacks home hacks, but keep styling secondary to a solid, level build.
How Do I Fix a DIY Bookshelf Safely to the Wall?

A freestanding case and a wall-mounted shelf fail differently. For a freestanding case, stop it tipping forward: find studs (commonly 16 or 24 inches apart), confirm each centre, and fix an anti-tip strap from the top into at least one stud with screws that bite into solid wood. Drywall alone is not safe for a tall, heavy case.
Wall-mounted shelves need even more care, because books pull the bracket away from the wall as well as downward. Stud fixings are strongest: guides commonly credit roughly 45 to 50 pounds per stud connection, though the bracket maker’s rating takes precedence. If no stud falls where you want the shelf, use heavy-duty toggle anchors rated for the load, following the packaging exactly. Plastic anchors suit light decor only, not books. Put the heaviest books over the fixing points and close to the wall, and test with a light load first. If your project also involves replacing wall panels, a sheetrock calculator can help estimate sheet numbers. Call a professional if the wall is crumbling or you suspect pipes or wiring behind the fixings — and never re-fix into a torn-out hole: patch it, cure it, and drill nearby.
How Do I Stop Shelves Sagging and Finish Them Well?
Sag is the most common disappointment in a first bookcase, and it is almost always a span problem. With 3/4-inch material, keep spans around 30 to 32 inches. For a wider case, add a centre divider, which halves the span, or glue and pin a 1×2 strip to each shelf’s front edge. Put hardcovers low, where the case is strongest, and keep the top shelf for paperbacks.
Finishing well is mostly patience. Seal MDF edges, prime plywood first, and sand lightly between coats with 220-grit paper, wiping dust away each time. Test stain on an offcut first. When styling, leave breathing room: vertical rows, one short horizontal stack, and one or two objects per shelf. A quick look at interior design trends 2027 can help you pick colours that will not date quickly, but do not chase a trend over a finish you will still like in five years.
| Problem | Likely cause | Fix |
|---|---|---|
| Shelf sags | Span too long, or load too heavy | Add a divider or front strip; move heavy books lower |
| Case racks sideways | Back panel missing or loose | Fit a 1/4-inch plywood back, fixed all around |
| Shelves not level | Marks mismatched, or case out of square | Re-check diagonals before glue sets |
| Shelf pulls from wall | Fixing missed the stud, or anchors too light | Re-fix into studs, or use heavy-duty toggles |
When Is a DIY Bookshelf Not the Right Choice?
If the wall is damp, crumbling, or badly out of plumb, fix the wall first: fixings will not hold, and covering damp hides the problem. Very long built-ins, cases for a very heavy reference collection, or units around a fireplace or staircase are worth handing to a professional. Renters should check their agreement before drilling, and use fixings that can be patched cleanly. If you have no safe way to cut large panels, a ready-made case, or panels cut to size at the store, is better than an unsafe cut.
Frequently Asked Questions
How deep should a diy bookshelf be?
For most books, 10 to 12 inches works well. Measure your deepest book before cutting, since hardcovers and art books need the full depth.
What thickness should bookshelf shelves be?
Use 3/4-inch material as the practical minimum. Thinner shelves sag under hardcovers, especially over spans longer than about 24 inches.
Can I build a bookshelf without a table saw?
Yes. A circular saw with a straight guide, or boards cut to size at the store, handles every straight cut. Accuracy and square assembly matter more than the saw.
How do I anchor a tall bookshelf so it cannot tip over?
Fix an anti-tip strap from the top of the case into at least one wall stud, using screws that bite well into solid wood. Drywall alone is not safe for a tall, loaded case.
Can a wall-mounted bookshelf hold heavy books?
Yes, with the right fixing. Stud fixings are strongest, heavy-duty toggle anchors are the fallback in sound drywall, and light plastic anchors are not suitable. Check bracket and anchor ratings, and load the heaviest books over the fixing points.
Conclusion
A diy bookshelf works best when sized to real books, built from 3/4-inch material with sensible spans, squared with a back panel, and anchored before loading. Keep heavy books low, let finishes cure, and check fixings after moving the case. For more home ideas, visit HOMEZEL.