This plan builds one specific bookcase — 36 inches high, 30 wide, and 10 deep — from 3/4-inch plywood, in a fixed order: measure, cut, dry-fit, assemble, shelve, back, sand, finish, anchor. Follow the cut list exactly and a careful first-timer can finish in a weekend.
Key Takeaways
- One fixed design: a 3-shelf bookcase, 36 in high × 30 in wide × 10 in deep, in 3/4-inch plywood with a back panel.
- Every piece is in one cut list with exact dimensions, so cutting is a checklist, not a guessing game.
- The order matters: dry-fit before glue, back panel before finishing, anchoring last.
- Allow a full weekend — mostly because finish needs proper drying time between coats.
- Anchoring to a wall stud is not optional: a loaded bookcase is top-heavy and must not tip.
What Is the Plan, and What Should You Gather First?
You are building a compact three-shelf bookcase sized for paperbacks and standard hardcovers. The frame is two sides, a top, and a bottom; two fixed shelves inside create three openings of roughly 11 inches each. A thin plywood back panel keeps the case rigid, and the finished unit is screwed to the wall so it cannot tip forward.
Before anything is cut, settle how the shelf will sit in the room: which wall it stands against, whether a baseboard pushes it out, and how the openings will be used. Browsing room layouts first, such as designmode24 interior design examples, helps you picture how a low, wide case balances against the furniture. Every measurement below assumes this one size. Why these dimensions work, and how shelf span and sag are calculated in general, is covered in depth in the site’s main diy bookshelf guide.
Gather everything first: one 4 × 8 ft sheet of 3/4-inch plywood (a half sheet is enough; a full sheet leaves spare for one cutting mistake), 1/4-inch plywood for the back, wood glue, #8 × 1-1/4-inch wood screws, 3/4-inch brad nails or short screws for the back panel, 120- and 220-grit sandpaper, and your chosen finish. Tools: a tape measure, a pencil, a square, a circular saw or a store cutting service, a drill/driver, clamps, a stud finder, and safety glasses. For anchoring, add two L-brackets or an anti-tip strap.
What Are the Exact Cuts?
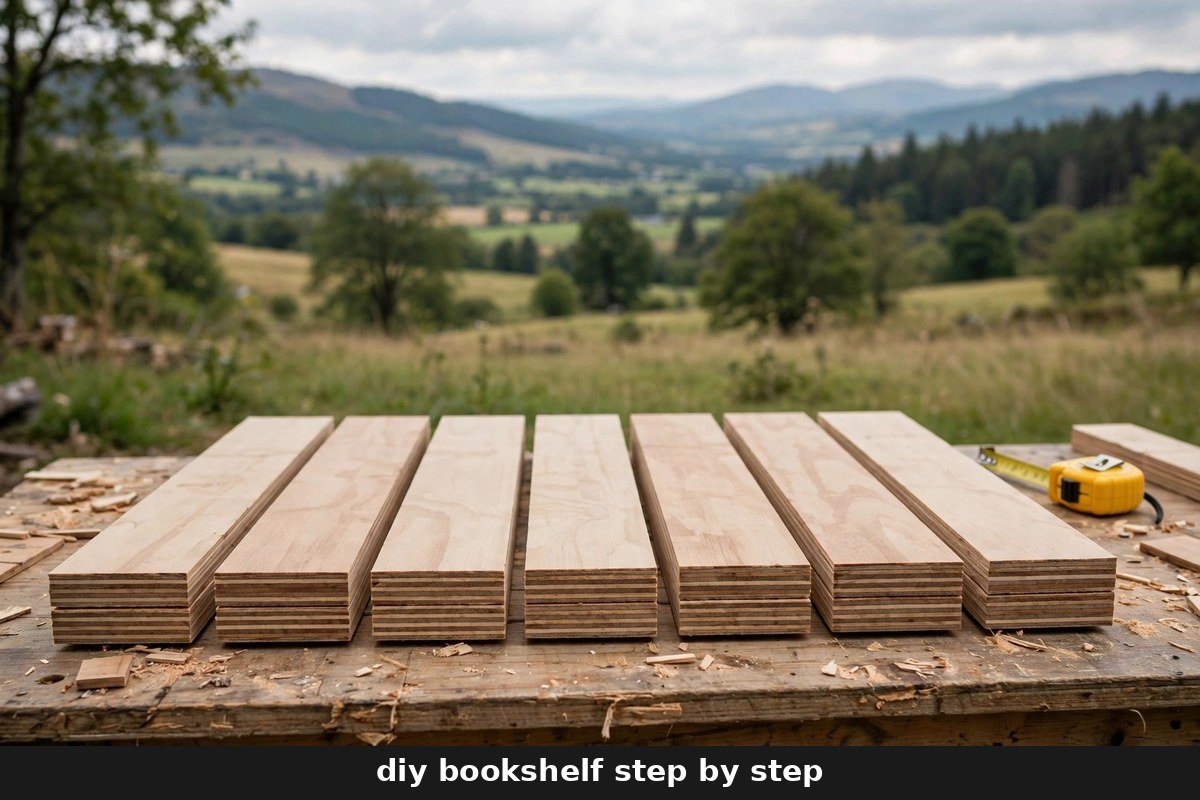
Cut every piece on the list before assembly begins, and label each in pencil on its back face — sides, top, and bottom are easy to mix up.
| Piece | Qty | Dimensions (in) | Material | Notes |
|---|---|---|---|---|
| Side | 2 | 36 × 10 | 3/4-in plywood | Full height and depth of the case |
| Top | 1 | 28-1/2 × 10 | 3/4-in plywood | Fits between the two sides |
| Bottom | 1 | 28-1/2 × 10 | 3/4-in plywood | Fits between the two sides |
| Shelf | 2 | 28-1/2 × 9-3/4 | 3/4-in plywood | Set back 1/4 in from the front edge |
| Back panel | 1 | 30 × 36 | 1/4-in plywood | Covers the whole rear of the case |
The maths is simple: the sides carry the full 30-inch width, so everything between them is 30 minus two plywood thicknesses — 28-1/2 inches. If your plywood measures slightly under a true 3/4 inch, as much of it does, adjust the 28-1/2-inch pieces by the difference so the outer width stays 30 inches.
How Do You Build It, Step by Step?
Work through the steps in order and do not skip the dry-fit. Each step names what “done right” looks like and the slip to avoid.
- Measure the space. Confirm the spot is at least 30 inches wide and 36 tall, and check the floor for slope with a level. A Square Foot Calculator helps you work out the floor area the bookcase will occupy. Slip to avoid: measuring from the wall instead of the baseboard face.
- Cut the pieces. Cut everything on the cut list, wearing safety glasses, or have the store cut it and check each piece before you leave. Done right: every piece matches its listed size within about 1/16 inch. Slip to avoid: cutting shelves “close enough” — a short shelf leaves a gap glue cannot hide.
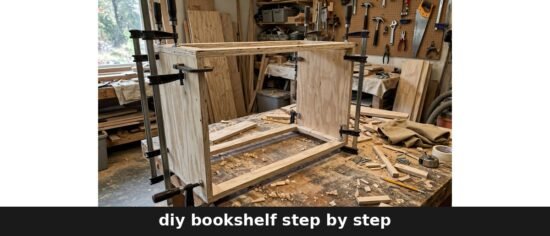
- Dry-fit the frame. Clamp the sides, top, and bottom together without glue and compare both diagonals: equal diagonals mean square. Done right: corners flush, no rocking. Slip to avoid: forcing a twisted frame flat — find the miscut piece instead.
- Assemble the frame. Glue each joint, clamp, and drive two #8 × 1-1/4-inch screws through each side into the ends of the top and bottom, pre-drilling so the plywood does not split. Re-check the diagonals before the glue grabs.
- Fit the shelves. Mark shelf positions on both sides, measuring from the same reference edge on each, then glue and screw through the sides into each shelf end. Done right: each shelf reads level and sits 1/4 inch back from the front edges. Slip to avoid: marking one side from the top, the other from the bottom.
- Attach the back panel. Lay the case face-down, align the panel with one corner, and fix it with brad nails or short screws every 6 inches into the frame and shelves. Done right: the panel pulls the case square and it feels rigid pushed sideways. Slip to avoid: fixing all four corners first.
- Sand. Sand all outer surfaces and edges with 120-grit, then 220-grit, wipe off the dust, and ease the front edges. Done right: a hand slides over every edge without catching. Slip to avoid: pressing hard in one spot and sanding through the face veneer.
- Finish. Apply paint or clear finish as its container directs, waiting the full drying time printed on the tin between coats — not just until it feels dry. Done right: an even surface, no drips or sticky patches. Slip to avoid: loading books before the final coat has cured.
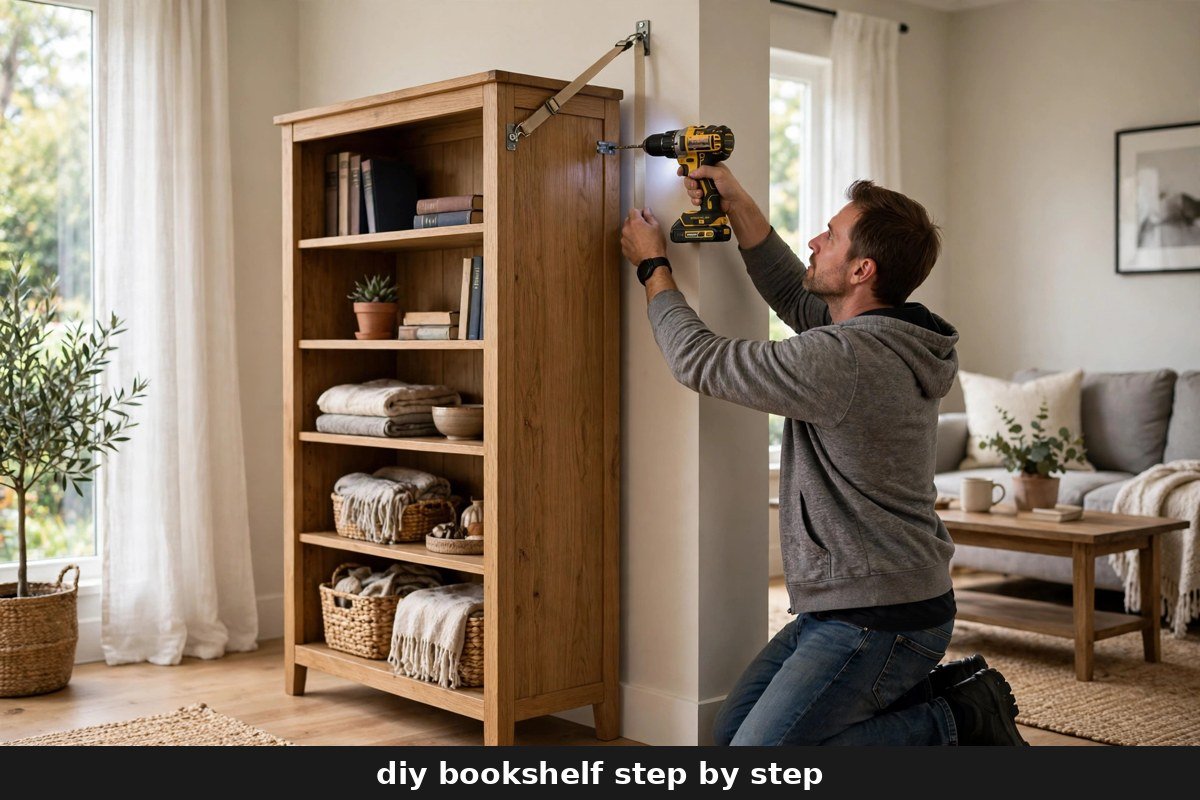
- Anchor to the wall. Find a stud with the stud finder and mark it, then fix two L-brackets or an anti-tip strap between the top of the case and the stud. Done right: a firm pull on the top moves nothing. Slip to avoid: screwing into plasterboard alone.
How Long Will It Actually Take?
Plan on a weekend: the building takes a few hours, and the rest is waiting for glue and finish to dry. The timeline below is an estimate, not a promise.
| Phase | Estimated time | Notes |
|---|---|---|
| Measuring and marking out | 30–45 minutes | Includes checking the space and locating the wall stud |
| Cutting all pieces | 1–1-1/2 hours | Less if the store cuts the sheet for you |
| Dry-fit and frame assembly | 1–1-1/2 hours | Includes glue-up and diagonal checks |
| Shelves and back panel | 45–60 minutes | Back panel also squares the case |
| Sanding | 30–45 minutes | Two grits, then a full dust wipe-down |
| Finishing | 1 hour of work, spread over a day | Two coats, with the full drying time from the tin between them |
| Anchoring | 20–30 minutes | Stud-finding, brackets or strap, final pull test |
Once the finish has cured and the case is anchored, style it simply: heavier books on the bottom shelf, lighter ones up top, and a little empty space so it does not look crammed. If you enjoy thinking about how finished pieces sit together, designmode24 design is worth a browse before you decide what goes on top.
What If Your Floors, Walls, or Room Are Not Square?
Real rooms fight back. Floors often slope, so a square bookcase can rock or lean: shim under the low side, trim the shim flush, and rely on the wall anchor to keep everything steady. Walls bow too, which can leave a small gap behind one top corner — the anchor holds the case, and the gap is normal and barely visible. If your plywood is slightly warped, put the bow facing into the case, where the back panel pulls it straight. This plan does not cover built-in units fitted wall-to-wall, or cases taller than 36 inches, which need different anchoring and bracing. If the case must be scribed to an uneven wall, or you are unsure about finding studs in an older wall, get a carpenter’s help for the fitting stage rather than improvising.
Frequently Asked Questions
Can the store cut the plywood for me?
Yes — most DIY stores will cut a sheet to a cut list, often free for the first few cuts. Bring exact dimensions, and measure every piece before you leave; an error found at home means another trip.
What if my plywood is not exactly 3/4 inch thick?
That is common; much plywood is slightly under. Measure the actual thickness and adjust the width of the top, bottom, and shelves by the difference, keeping the case’s outside dimensions at 36 × 30 × 10 inches.
Do I really need the back panel?
Yes, for this design. The 1/4-inch panel locks the case square and stops it racking sideways under the weight of books. Without it, the frame relies only on its corner screws and will loosen over time.
How long before I can put books on it?
Wait until the final coat has fully cured according to its container — often 24 hours or more after it feels dry to the touch. Loading books onto soft finish can leave permanent marks.
Can I make the shelves adjustable instead?
Not within this plan, which uses fixed, screwed shelves because they add strength to a small case. Adjustable shelf pins are a different design with different drilling, and mixing the two mid-build usually ends in misaligned holes.
Conclusion
Following a DIY bookshelf step by step plan like this one removes the hardest part of the project — deciding what to do next — because the design, the cuts, and the order are already settled. Measure carefully, dry-fit before you glue, let the finish dry properly, and anchor the finished case to a stud. The result is a small, solid bookcase that fits its space exactly and stays put. For more home ideas, visit HOMEZEL.