A DIY bathroom mirror frame is trim cut to fit around your existing mirror, sealed for bathroom moisture, and attached with mirror-safe adhesive so it looks built in. Measure, cut 45-degree corners, finish the wood before you hang it, and let the adhesive cure before you remove the tape.
Key Takeaways
- Most bathroom mirrors can be framed without removing the glass.
- Measure the mirror itself, test-fit every piece, and label each one.
- Paint or stain trim before attaching it, and seal back and ends too.
- Use adhesive labelled as safe for mirrors.
- Keep tape until the adhesive has set; fill small gaps with caulk.
What a DIY Bathroom Mirror Frame Actually Is
A builder-grade bathroom mirror is flat glass held by clips, a channel, or adhesive. Its raw edge can make the bathroom look unfinished. A diy bathroom mirror frame is a border of trim fitted around that glass, covering the edge and hiding most clips.
The simplest route, used here, is to attach trim to the face of a mirror that stays on the wall. If your mirror is glued to the wall, frame it in place.
What Is the Best Material for a Bathroom Mirror Frame?
Choose for moisture first: steam settles on the top edge, behind the trim, and in the corners, so the material must cope with damp air or the finish will peel.
Solid wood, such as pine or poplar, is easy to cut, sand, and paint, and suits a warm, traditional bathroom. It is porous, so seal it completely on front, back, edges, and ends. Miss one surface and moisture will find it.
PVC trim does not absorb water in the same way, is light, and wipes clean easily, suiting a steamy bathroom, though it can look less like real wood. Slim metal trim resists moisture well but shows gaps if the mirror is not square. Unsealed fibreboard paints smoothly, but once water reaches an edge it can swell, so pick a wet-area product and seal every edge first.
These interior decoration tips mintpaldecor can help you match the frame to the rest of the room.
| Material | Best for | Moisture handling | Watch out for |
|---|---|---|---|
| Solid wood | Traditional bathrooms | Good only when fully sealed | Bare backs and ends absorb steam |
| PVC trim | Steamy, modern bathrooms | Strong; does not swell | Can look less like wood |
| Metal trim | Industrial bathrooms | Strong when coated | Shows gaps if mirror is not square |
Can I Frame a Mirror Without Removing It From the Wall?
Yes, in most cases. Leave the glass and its fixings alone; you are adding a border, not re-hanging a mirror.
Check how the mirror is held. Plastic clips sit proud of the glass, so flat trim will not sit flush over them. Either cut a shallow notch in the back of the trim where each clip sits, or choose a trim profile with a recess that clears the clip. Mark each clip position first; a notch that is too deep weakens the trim.
If the mirror sits in a bottom channel, measure the visible glass and check the bottom trim will not block a light or backsplash. If it is glued to the wall, frame it in place; glued glass can crack if levered off.
How Do I Measure, Cut, and Build It, Step by Step?
Measure the visible mirror width and height in at least two places, because older walls are not always square. Write the numbers down and label each piece — top, bottom, left, right — as soon as it is cut. A trim width of about 2 to 3 inches suits many vanity mirrors.
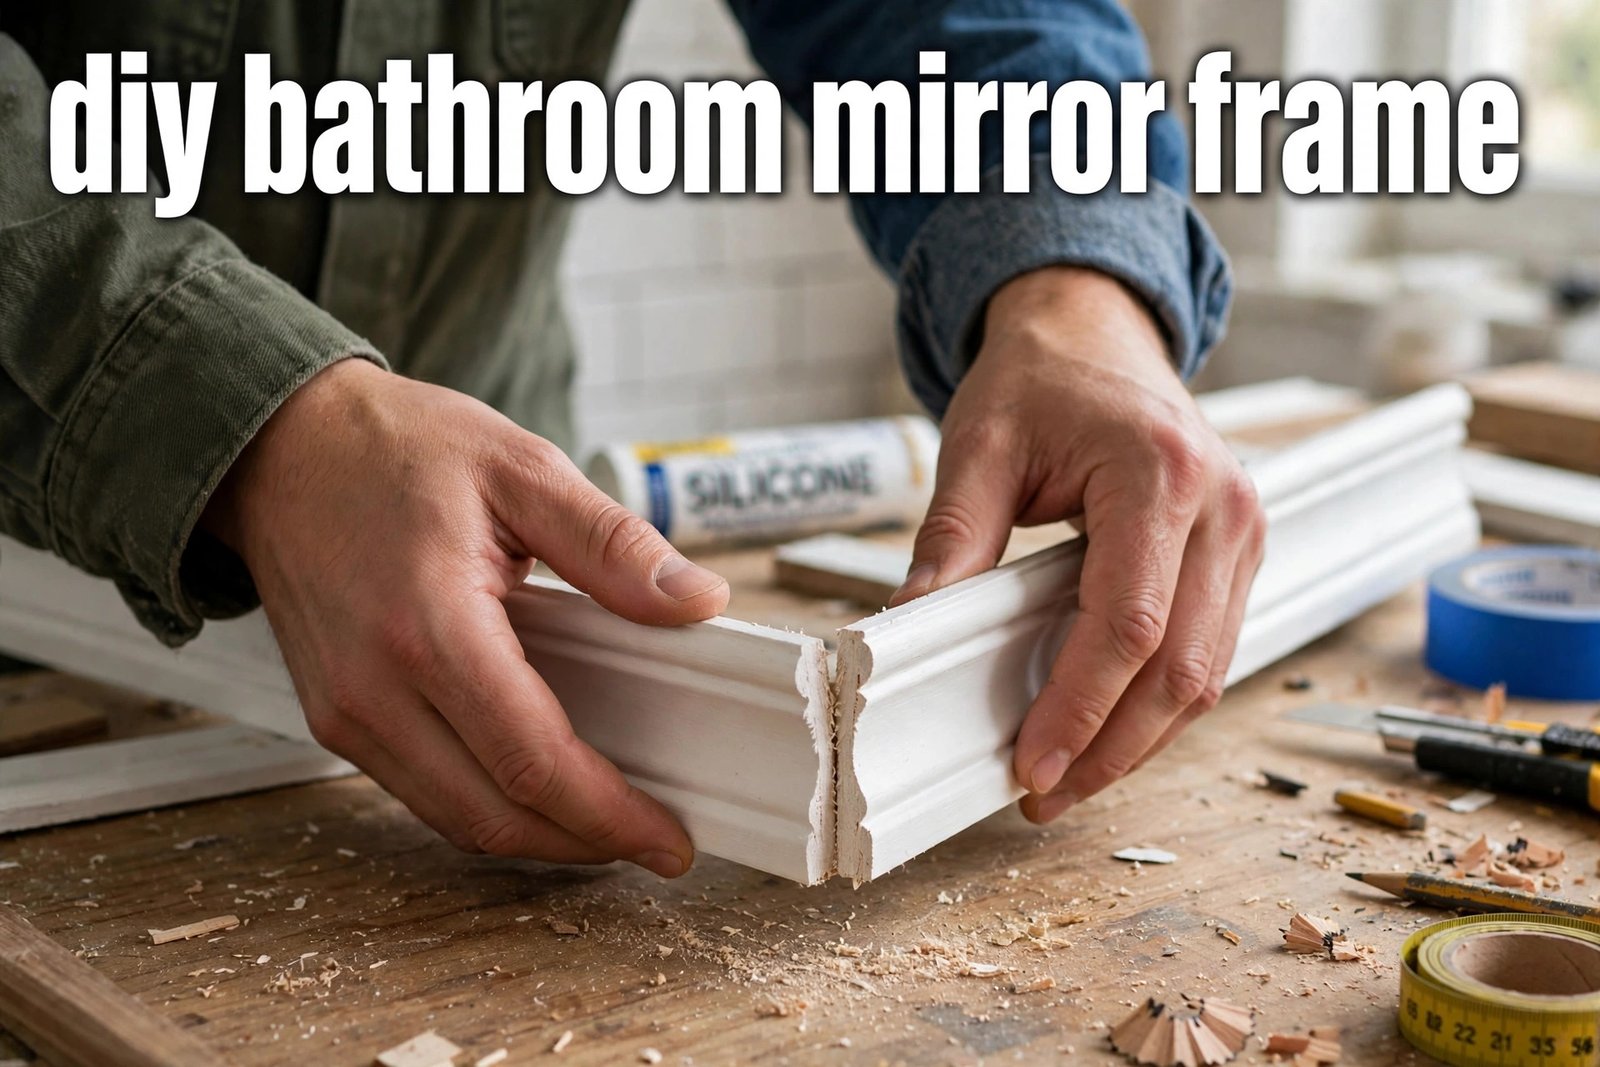
For a mitered frame, cut each end at 45 degrees. Cut one piece, dry-fit it against its neighbour, then cut the next. If a corner is slightly open, check angle and length before forcing it closed; only a small gap should be filled later with caulk. If you are also planning tile work, a tile calculator can help you estimate tile quantities before you order.
- Clear the vanity, cover the sink, and clean the mirror edge.
- Measure the mirror, note clip positions, and check lights and backsplash edges.
- Cut four pieces with 45-degree ends, label them, and dry-fit with painter’s tape.
- Notch the back shallowly where clips sit, and test again.
- Sand smooth, wipe dust, then paint or stain. As a practical estimate, let it dry fully, ideally overnight. Seal back and ends too.
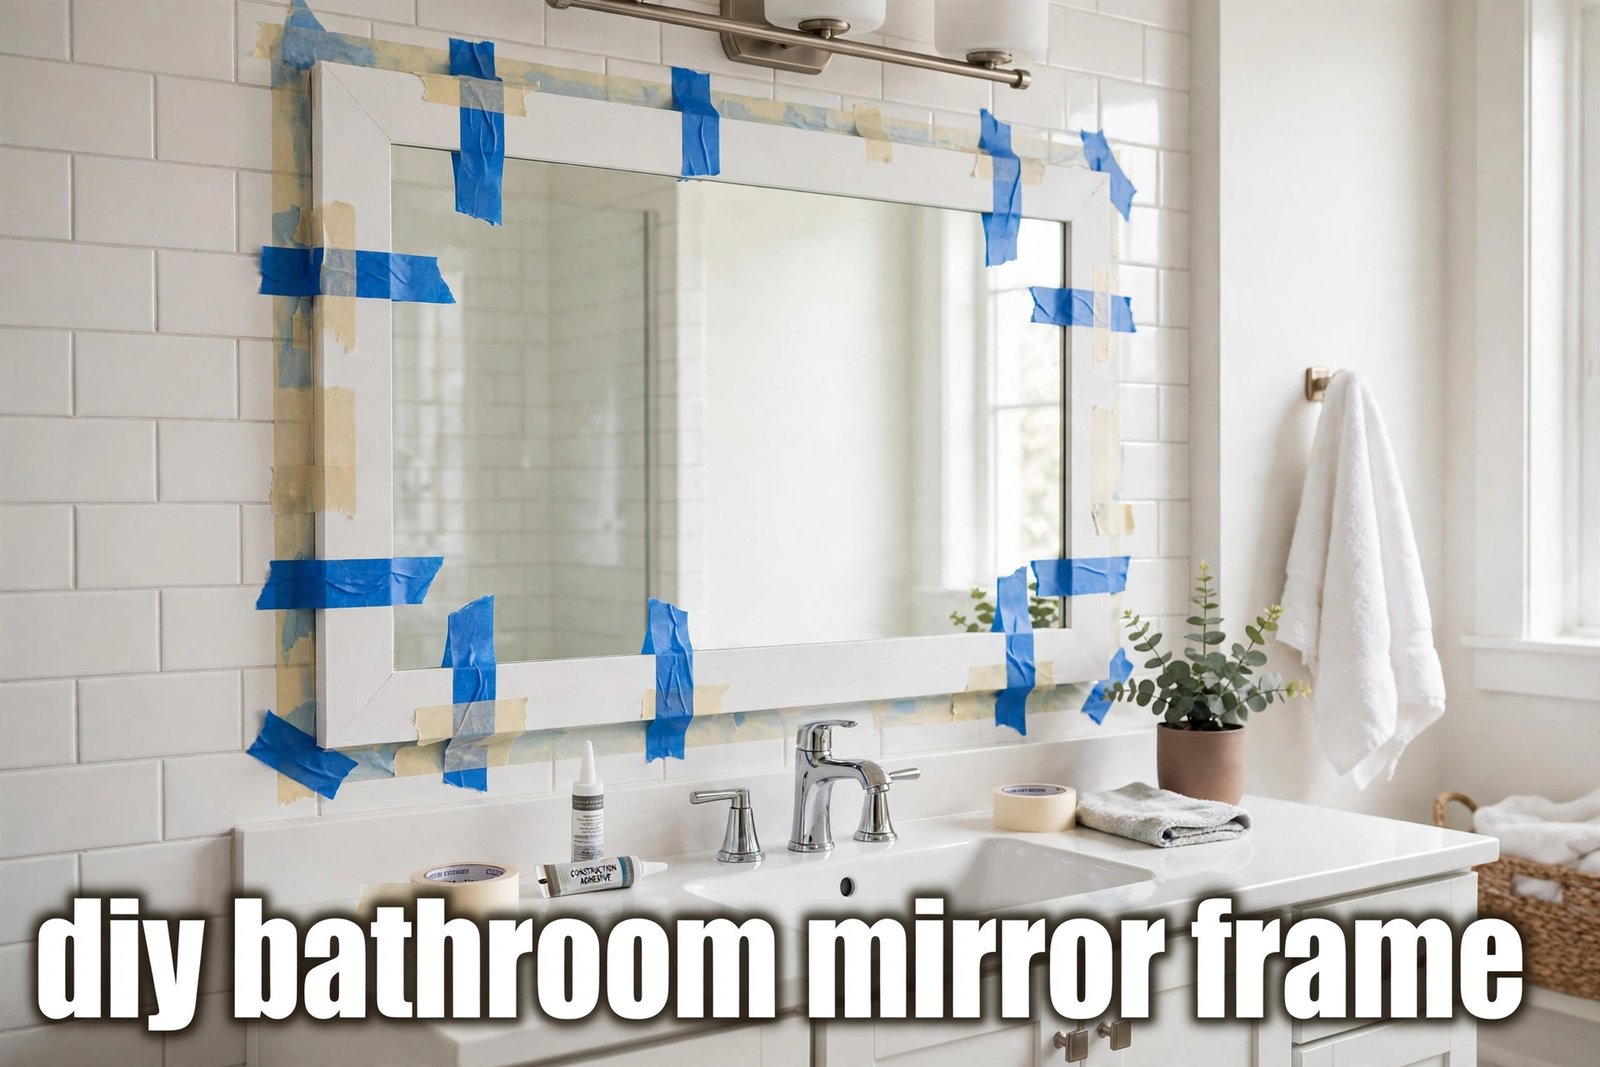
- Attach the bottom piece first. Run mirror-safe adhesive along the back, away from the edge. Level and tape it firmly.
- Add sides, then top, checking each corner and taping every piece.
- Once set, fill small corner gaps with paintable caulk, let it dry, and touch up paint. Wipe adhesive off glass while wet.
- Leave tape until the adhesive has set per the label. As a practical estimate, allow at least 24 hours.
Wear safety glasses and gloves when cutting. If you ever remove a mirror, get help and support it from below.
How Do I Attach and Seal It Without Damaging the Mirror?
The adhesive matters more than the trim. Use a product labelled as safe for mirrors. Some ordinary construction adhesives contain solvents that can attack the silver backing, causing dark spots that cannot be cleaned off. That damage may not show at once, which is why the label matters.
Apply a controlled bead on the back of the trim, not a thick sheet, and keep it away from the edges. Firm, even pressure matters more than a large amount of glue. Ventilate while adhesive and paint cure, follow the label for curing time, and avoid a steamy shower on the first day.
Sealing matters just as much. Steam reaches front, back, top edge, and joints, so every surface needs protection. Use paint or a clear topcoat made for high-humidity use, especially on the top edge and mitered ends. After fitting, run a thin bead of paintable caulk where trim meets wall and where corners meet.
When Should You Not Frame a Mirror Yourself?
Do not frame a mirror with cracked glass, loose fixings, or a flaking backing; trim will not make an unsafe mirror safe. Do not remove a large glued mirror, and do not move lights, heated pads, or wiring behind a mirror unless qualified; call an electrician.
Fix a damaged, soft, or wet wall and its moisture source before framing. Renters should check their agreement before using permanent adhesive. If the mirror is very large, heavy, or above a bath, a professional installer is sensible.
Frequently Asked Questions
Can I frame a bathroom mirror that is glued to the wall?
Yes. Frame it in place with trim on the face of the glass, using mirror-safe adhesive and painter’s tape. Do not pry a glued mirror off the wall; it can crack and cause injury.
What adhesive is safe for a bathroom mirror frame?
Use an adhesive labelled as safe for mirrors. Ordinary construction adhesives can contain solvents that damage the reflective backing and cause dark spots. If the label does not say it is suitable for mirrors, choose another product.
How long should I wait before removing the tape?
Follow the label first. As a practical estimate, leave tape for at least 24 hours so trim cannot slide, and avoid steamy showers that first day. Re-hanging a mirror with mastic can need much longer.
Will a wood frame warp in a bathroom?
It can if left unsealed, because wood absorbs steam, especially at cut ends and on the back. Sealing all surfaces, caulking joints, and using the extractor fan greatly reduce the risk. In a steamy bathroom, PVC trim is lower maintenance.
Can I frame a mirror with clips still on it?
Yes, with a small adjustment. Cut a shallow notch in the back of the trim where each clip sits, or use a trim profile with a recess that clears the clip. Mark clip positions before cutting, and do not remove clips holding the mirror up unless a safe replacement support is ready.
| Problem | Likely cause | Fix |
|---|---|---|
| Corner gap will not close | Length or angle slightly off | Re-measure and re-cut; fill only a small gap with caulk |
| Adhesive on the glass | Bead too close to the edge | Wipe off while wet; keep the next bead further back |
| Frame crooked over clips | Trim rests on a clip | Mark each clip, cut a shallow notch, test again |
Conclusion
A diy bathroom mirror frame works best when you treat it as a small piece of joinery, not a quick cover-up. Measure twice, finish trim before attaching it, use mirror-safe adhesive, and seal properly. If the project grows into a full remodel, a broader home improvement mintpaldecor guide can help you plan the next steps. For more home ideas, visit HOMEZEL.