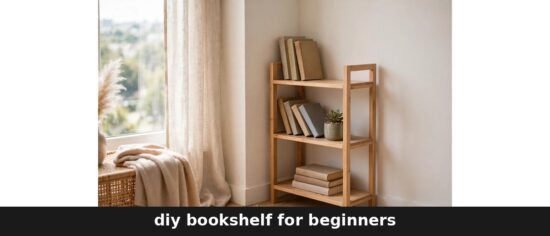
The simplest first build is a small two- or three-shelf bookcase about 24 to 30 inches wide, made from pre-cut 3/4-inch boards. Keep spans short, add a back panel, anchor it to the wall, and it will hold everyday books safely.
Key Takeaways
- Start small: a bookcase 24–30 inches wide with two or three shelves is a weekend-sized first project, not a room-sized commitment.
- Use 3/4-inch boards and keep shelf spans under about 30 inches so shelves stay flat under normal book loads.
- Let the store cut your boards to size; straight, square cuts matter more than owning a saw.
- A thin back panel and a wall anchor do more for stability than extra screws ever will.
- Measure twice, dry-fit everything, and stop if a step needs a tool or skill you do not have yet.
What Is the Easiest Bookshelf a Beginner Can Build?
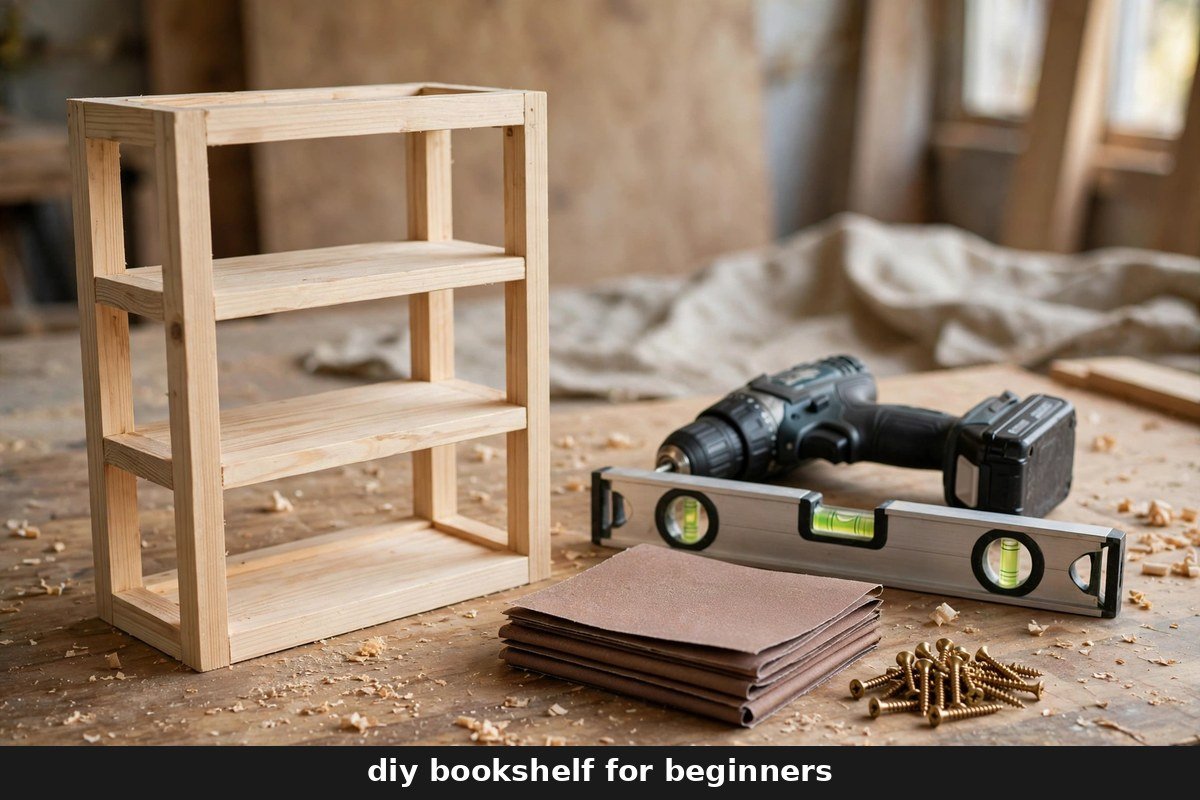
The easiest design is a simple open box: two upright side boards, three horizontal boards (bottom, middle, and top), and a thin back panel. There are no drawers, no doors, no curves, and no fancy joints — every connection is a straight butt joint held with screws. A first project should teach measuring, drilling pilot holes, and checking for square, not test your patience with complicated joinery.
Aim for a finished size of roughly 28 inches wide, 36 inches tall, and about 11 inches deep. That is big enough for standard hardcovers and paperbacks, small enough to carry through a doorway, and light enough to move without help. If you are still gathering simple first-project ideas, browsing roundups like blog home ideas thehometrotters can help you picture the scale before you commit. Pick the small version first; a second, bigger build will go faster for everything the first one taught you.
How Do You Measure and Plan the Space First?
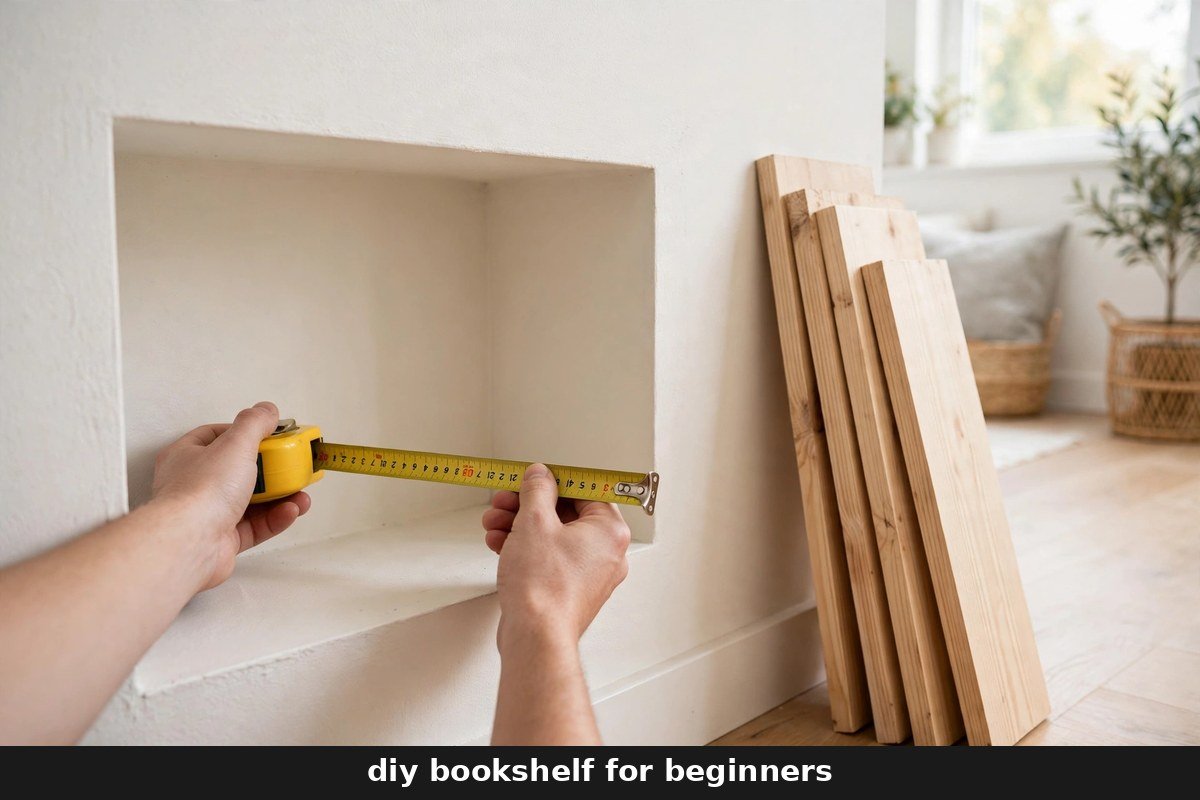
Measure the wall or nook where the bookcase will stand before you buy a single board. Record the width, the height up to any window sill or trim, and the depth you can spare without blocking a walkway. Check for baseboards, which push the case out from the wall, and note any outlets you still need to reach. The Square Foot Calculator is a quick way to turn your wall measurements into an area figure when you are comparing a couple of possible spots. Leave at least half an inch of clearance on each side so the case slides in without a fight, and check the floor with a level — a slope is easier to plan for now than to fix later with shims.
Once the spot checks out, work from a fixed cut list instead of improvising at the store:
| Part | Cut size | Quantity | Notes |
|---|---|---|---|
| Side boards | 3/4 × 11.25 × 36 in | 2 | Solid pine board or 3/4-in plywood |
| Shelf boards | 3/4 × 11.25 × 26.5 in | 3 | Bottom, middle, and top, fitted between the sides |
| Back panel | 1/4-in plywood, 28 × 36 in | 1 | Covers the full back; stops side-to-side racking |
| Anti-tip strap | Standard furniture strap | 1 | Screwed into a wall stud, not drywall alone |
What Tools and Boards Do You Actually Need?
Most home centers cut boards to your list for free or a small fee, so hand over the cut list above and check each piece against your tape before you leave — a short board is far easier to replace at the store than at home. Sight down the long edge of every board and reject any with a visible bow or twist, because warped lumber makes square assembly nearly impossible. For material, solid 3/4-inch pine boards are forgiving and need no edge treatment; 3/4-inch plywood is equally suitable but shows layered edges unless you cover them. Avoid 1/2-inch stock for shelves — it flexes noticeably under books.
| Tool | Must-have or nice-to-have | What it does in this build |
|---|---|---|
| Tape measure and pencil | Must-have | Layout, cut checks, and shelf positions |
| Drill/driver with 1/8-in bit | Must-have | Pilot holes and driving screws without splitting boards |
| Carpenter’s square | Must-have | Confirms corners are 90 degrees before the back panel goes on |
| Two clamps | Must-have | Holds boards steady so joints stay put while you drill |
| Level | Must-have | Checks the finished case and the wall anchor line |
| Stud finder | Must-have | Locates the stud your anti-tip strap must screw into |
| Sandpaper, 120 and 220 grit | Must-have | Smooths edges and prepares surfaces for paint |
| Countersink bit | Nice-to-have | Lets screw heads sit flush for a cleaner finish |
| Wood filler | Nice-to-have | Hides small gaps and screw heads before painting |
How Do You Assemble It Step by Step?
Lay all the parts on the floor and dry-fit the box first, with no screws. This five-minute rehearsal shows you whether the cuts are right while mistakes are still free. Then build in this order:
- Stand the two side boards upright and mark the shelf positions on their inside faces: bottom board at floor level, middle shelf about 17 inches up, top board flush with the top edges.
- Clamp the bottom board between the sides and drill pilot holes through each side into the board ends — two screws per joint.
- Drive the screws, then repeat for the middle shelf and the top board, checking with your square after each one.
- Measure both diagonals of the open box. Equal diagonal measurements mean the case is square; if they differ, push the long diagonal corner gently until they match.
- Lay the case face-down, set the back panel on, and screw through it into the sides, shelves, and top every 6–8 inches. This panel is what locks the box square.
- Stand the case up in its spot, shim it level if the floor slopes, and fit the anti-tip strap between the top back edge and a wall stud.
For the finish, sand all edges with 120-grit, then 220-grit, wipe off the dust, and paint or stain following the drying times printed on the product label — as a practical estimate, allow a full day between final coat and loading books, since finishes feel dry before they are fully hard. That finishing step is where a plain box starts to change how a room feels, which is the effect explored in why interior design is interesting mintpaldecor: color, spacing, and a few styled objects make the shelf look intentional instead of improvised.
Which Beginner Mistakes Ruin a Bookshelf?
Almost every failed first bookshelf fails for one of five predictable reasons, and all five are avoidable once you know to look for them:
| Beginner mistake | Why it causes trouble | The simple fix |
|---|---|---|
| Span too long | Long shelves bow in the middle under book weight | Keep spans at or under about 30 in, or add a center divider |
| Shelf boards too thin | 1/2-in stock flexes and feels flimsy right away | Use 3/4-in boards for every shelf, no exceptions |
| No back panel or bracing | The box racks sideways and joints loosen over time | Always fit the 1/4-in back panel; it is structural, not decorative |
| No wall anchor | A loaded case can tip forward, especially with children or pets | Fit an anti-tip strap into a wall stud before loading a single book |
| Measuring only once | One wrong cut throws every later joint out of line | Measure twice, mark clearly, and dry-fit before drilling |
What Are the Limits of a First Build Like This?
This design has honest limits. It suits ordinary books, baskets, and lighter decor; it is not built for encyclopedia sets, stoneware collections, fish tanks, or anything heavy and concentrated in one spot. Uneven floors need shims under one side, thick carpet can make a case feel wobbly even when it is anchored, and in a rental you may need your landlord’s permission before screwing a strap into a stud. Humidity matters too: an unfinished case in a damp basement or bathroom will absorb moisture, so seal every surface if the shelf will live somewhere steamy. If you cannot find a stud where the case must stand, or your wall has wiring or plumbing you cannot identify, stop and hire a handyperson for the anchoring step rather than guessing.
Just as important is knowing what not to attempt yet. Save these for a later project, or for a professional:
- Tall bookcases over about 5 feet, which multiply tipping risk and alignment problems
- Wide single spans over about 36 inches without a center support
- Wall-hung or floating shelves, which depend entirely on hidden brackets and stud placement
- Heavy-load storage of any kind — tools, paint cans, aquariums, or dense archives
Frequently Asked Questions
Can I build this bookshelf without owning a saw?
Yes. Most home centers cut boards to a written list at little or no cost, and this whole design uses straight cuts only. Bring exact measurements, check every piece with your tape at the store, and your only powered tool at home is a drill/driver.
What is the best wood for a first bookshelf?
Solid 3/4-inch pine boards are the most forgiving choice: they are light, easy to drill, and need no edge finishing. Three-quarter-inch plywood works too and can be slightly more stable, but its layered edges show unless you paint them or add edge banding.
How much weight can a small bookshelf like this hold?
As a practical estimate, a 3/4-inch shelf spanning under 30 inches comfortably carries a normal row of hardcover books spread across its length. Treat that as a guide for everyday use, not a tested rating — keep the heaviest volumes on the bottom shelf, and do not load it with dense, concentrated weight.
How long does this project take from start to finish?
For a first-timer, plan on roughly three to five hours of measuring, assembly, and anchoring spread across an afternoon, plus drying time for paint or stain according to the product label. Rushing the finish is the most common reason a good build looks homemade.
Do I really need to anchor a bookshelf this small?
Yes. Even a 36-inch case becomes top-heavy once the upper shelf is loaded, and tip-overs happen fast. An anti-tip strap screwed into a stud takes ten minutes and is the cheapest safety upgrade in the whole project.
Conclusion
A DIY bookshelf for beginners succeeds when it stays small, uses honest materials, and gets anchored to the wall before the first book goes on. Build this little case carefully and you will own the core skills — measuring, squaring, bracing, and finishing — that every bigger project depends on. Start with the cut list, work in order, and let it earn you confidence for whatever you build next. For more home ideas, visit HOMEZEL.