
A diy blanket ladder is a tall, leaning wooden frame with horizontal rungs that keeps folded throws and quilts visible and easy to grab. Build it from two side rails and four or five rungs, finish the wood, then lean it against a wall at a gentle angle.
Key Takeaways
- A blanket ladder is a leaning display frame, not a climbing ladder, and should only hold light textiles.
- Most living-room ladders work well at 5 to 6 feet tall and 16 to 18 inches wide, with rungs 10 to 12 inches apart.
- Cut the feet at a slight angle so they sit flat, and protect the wall and floor with felt or rubber pads.
- Sand every surface that touches skin or fabric, and let finishes dry fully before hanging blankets on it.
- With small children or pets, anchor the top of the ladder to the wall.
What Size Should a DIY Blanket Ladder Be?
Start with the spot, not the lumber. Measure the wall height, the floor space in front of it, and the blankets you own. A ladder that is too tall crowds a low ceiling; one that is too short leaves your longest throw dragging on the floor.
Published guides commonly suggest 5 to 6 feet for a living room, holding three or four throws within easy reach. Bedrooms and bathrooms usually suit 3 to 5 feet, and a small hallway corner may only need 4 feet. For width, 16 to 18 inches suits most folded throws, while 24 inches suits bulky quilts.
Rung spacing matters too. Gaps of 10 to 12 inches let each blanket breathe and pull out easily; closer spacing suits towels, wider spacing suits thick quilts but leaves fewer rungs. Start the bottom rung about 16 to 20 inches up from the floor so the lowest blanket clears it. For a 5- to 6-foot ladder, the feet should sit roughly 10 to 12 inches out from the baseboard, about 75 degrees from the floor. If it must stand in a walkway, choose a shorter ladder or a different wall.
If you are still deciding where it belongs, some broader house decoration advice mintpaldecor can help you weigh it against a basket or blanket chest before you commit to a size.
Which Wood and Rungs Work Best?
Pine is the usual beginner-friendly choice: light, easy to cut and sand, and good with stain or paint. Poplar is smoother and better if you plan to paint. Chunky 2×4 lumber gives a rustic look but makes a heavier ladder. Avoid warped, split, or heavily knotted boards — a twisted rail will never lean evenly.
For the sides, slim 1×2 or 1×4 boards give a light, modern ladder, while 2×2 boards make a sturdier frame. For rungs, flat boards are simple to screw in place; round dowels, usually about 1 to 1.25 inches in diameter, look more traditional but need accurately drilled holes and glue. Buy straight boards, sight along each edge before buying, and store them flat. You will also need screws, wood glue, sandpaper, a finish, and felt or rubber pads.
How Do I Build a DIY Blanket Ladder Step by Step?
Work on a clear surface, wear eye protection, keep loose clothing away from blades and bits, and ventilate the room when using stains or sealants.
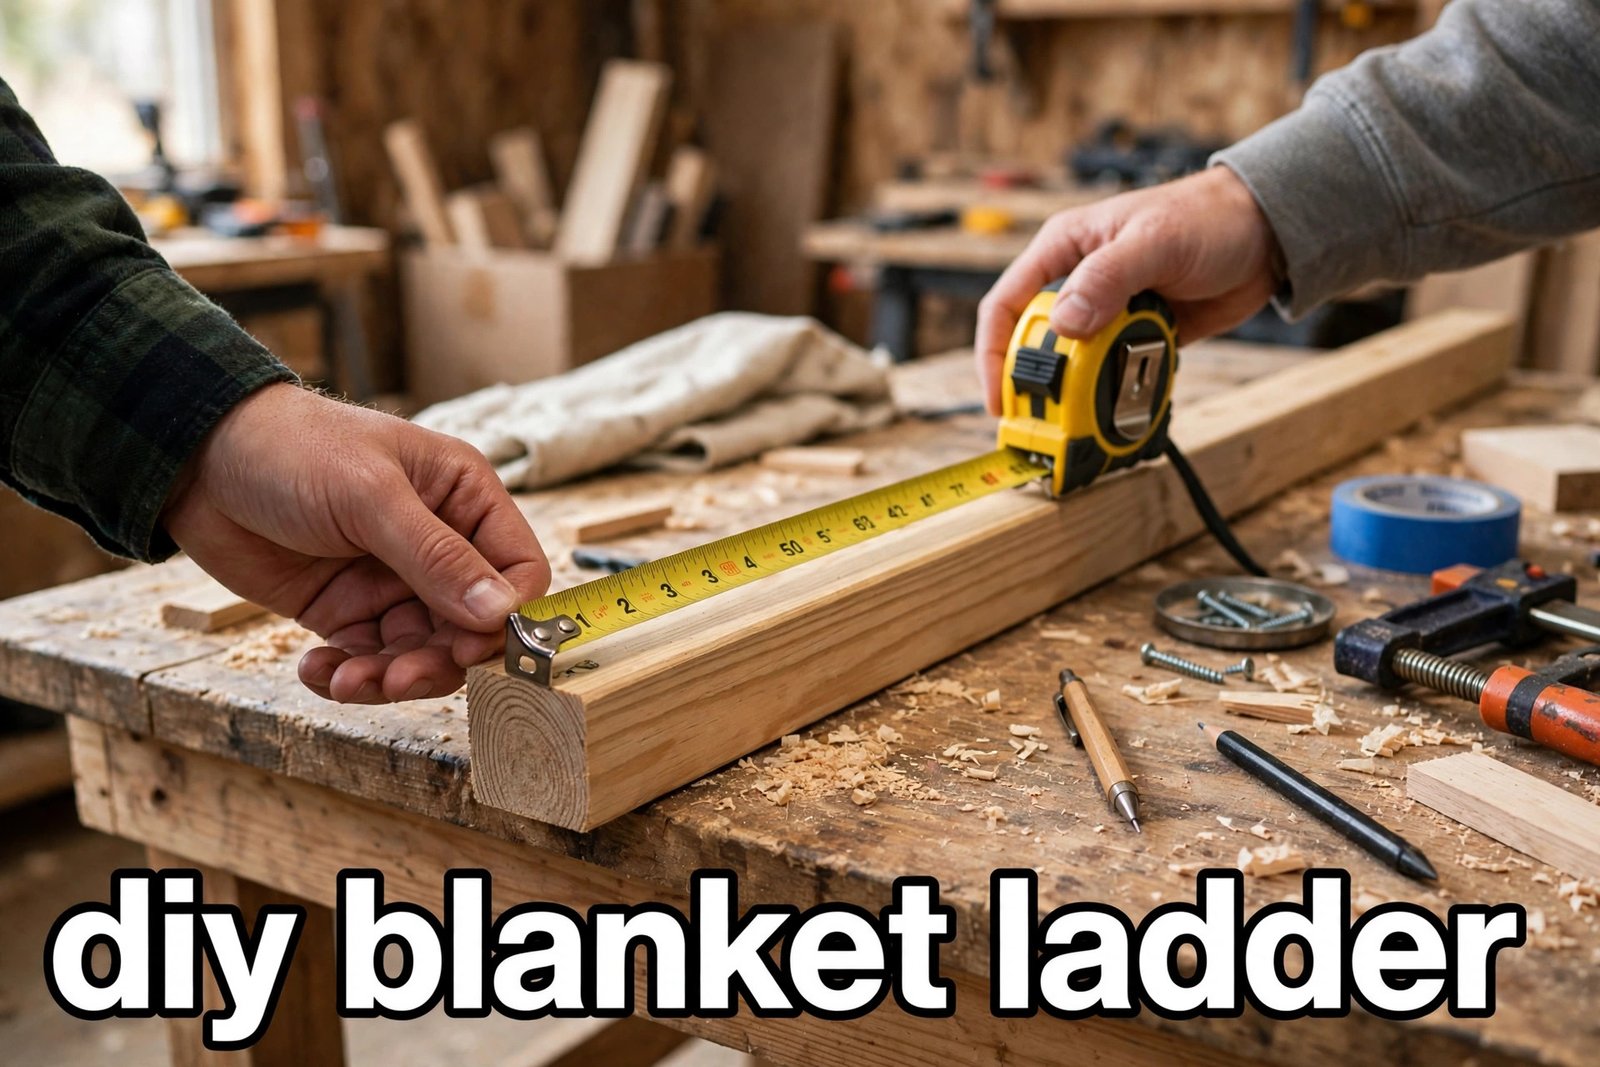
- Cut the side rails. Cut two rails to your chosen height — 6 feet is common for a living room — and to exactly the same length. If your saw allows it, cut each bottom at a 10- to 15-degree angle so the feet sit flat when it leans.
- Cut the rungs. Cut four or five rungs to your chosen width, usually 16 to 18 inches.
- Mark the rung positions. Lay the rails flat, tops lined up, and mark the first rung about 16 to 20 inches up, then the rest 10 to 12 inches apart. Mark both rails together so the rungs end up level.
- Drill pilot or dowel holes. For flat rungs, drill pilot holes to prevent splitting. For dowel rungs, drill holes to match the dowel diameter, using tape on the bit as a depth guide, and only partway through unless your design calls for through-holes.
- Assemble and square. Glue each joint thinly, screw the rungs to one rail, then fit the second rail, keeping the frame square. Wipe away glue squeeze-out before it dries.
- Test the frame. Lean it against a wall: both feet should touch the floor, both rails the wall, and no rung should wobble. Fix any loose joint now, while it is easy.
- Sand and finish. Sand all surfaces until no splinter catches hand or cloth, wipe away dust, then apply thin coats per the label, seal if recommended, and cure fully — as a practical estimate, allow at least 24 hours — before draping blankets over it.
How Do I Finish, Place, and Style It Without Damaging Walls or Floors?
Test stain or paint on an offcut first — the same product can look very different on pine than on poplar. One or two thin coats beat one thick coat, which can pool or stay tacky. For a damp room, choose a moisture-resistant finish and let it cure fully before it meets steam.

Stick felt pads where each rail top touches the wall and rubber or felt pads under each foot. This prevents scratches and sliding; on polished or tiled floors, rubber grips better than felt. If it still slides, move it onto a rug rather than loading the bottom rung to hold it down.
Style heaviest items low and lightest high. Fold throws lengthwise inside the rails, and leave one rung empty if the ladder looks crowded. If you are sewing a throw to match the room, a Curtain Fabric Calculator can help you estimate fabric before you buy. For more small-space ideas, browsing mintpaldecor home hacks from myinteriorpalace can spark a use for the corner beside the ladder, such as a basket for spare blankets.
When Is a Blanket Ladder Not the Right Choice?
A blanket ladder suits a home with a spare stretch of wall and a small collection of throws. It is a poor choice if you own many heavy quilts, because a leaning frame only holds a few items before it looks crowded and top-heavy — a blanket chest or deep basket then stores more, more safely. It is also wrong for a very small room where the lean eats into a walkway, or where toddlers climb everything and anchoring is not possible.
Edge cases deserve honesty too. A rocking ladder usually has rails of different lengths or mismatched foot angles: measure both and trim the longer one. A sliding ladder usually needs foot pads, a gentler lean, or a less slippery floor. Bathrooms can work, but only with a moisture-resistant finish, good ventilation, and no soaking-wet towels left on it. Never use it as a step ladder, hang heavy bags from it, or block a doorway, heater, or escape route with it. If the project grows into wall-mounted shelving, or a reused old ladder turns out cracked or rotted, call a professional.
Frequently Asked Questions
How tall should a diy blanket ladder be?
For most living rooms, 5 to 6 feet works well; bedrooms and bathrooms usually suit 3 to 5 feet. Measure your wall and longest blanket before cutting.
Can a blanket ladder hold heavy quilts?
It can hold a few folded quilts on the lower rungs, where the weight keeps it stable, but it is not built for heavy loads. Never use it as a step ladder.
Do I need to anchor a blanket ladder to the wall?
Anchoring is strongly recommended with children or pets, and on smooth floors. A small bracket or anti-tip strap near the top rail, fixed into a stud where possible, stops it tipping forward. Renters should check their agreement first.
Can I put a blanket ladder in a bathroom?
Yes, with a moisture-resistant finish, full curing time, and good ventilation. Avoid soaking-wet towels on it, and keep it away from direct, repeated splashing.
Should I stain or paint my blanket ladder?
Stain shows the grain and suits rustic rooms; paint suits modern rooms and hides grain differences. Test on an offcut and apply thin coats.
Table 1: Blanket Ladder Sizes by Room
| Room | Suggested height | Suggested width | Rung spacing |
|---|---|---|---|
| Living room | 5 to 6 feet | 16 to 18 inches (24 for bulky quilts) | 10 to 12 inches |
| Bedroom | 3 to 5 feet | 16 to 18 inches | 10 to 12 inches |
| Bathroom | 3 to 4 feet | 12 to 16 inches | 8 to 10 inches |
| Hallway or nursery corner | 4 to 5 feet | 16 inches | 10 to 12 inches |
Table 2: Common Problems and Fixes
| Problem | Likely cause | Fix |
|---|---|---|
| Ladder rocks | Rails differ in length or foot angle | Measure both rails and trim the longer one |
| Ladder slides forward | Smooth floor, steep lean, or missing foot pads | Add rubber feet, widen the lean slightly, or move it onto a rug |
| Wall gets scratched | Bare rail tops rubbing paint | Add felt pads where the rails touch the wall |
| Blankets slip off | Rungs too smooth or too close together | Space rungs wider and fold throws so they grip the rung |
| Joint loosens | Glue or screw worked loose | Re-glue, clamp per the label, and let it cure before reloading |
Conclusion
A diy blanket ladder works best when it is sized for its wall, built square, finished smoothly, and styled lightly rather than loaded like a storage rack. Keep the heaviest blankets low, protect the wall and floor, and anchor it where children or pets could tip it. For more home ideas, visit HOMEZEL.