
A DIY beadboard wall is grooved paneling you fix to a sound, dry wall with panel adhesive and brad nails into studs, then trim, caulk, and paint. Choose panels or planks for the room, let wood-based boards acclimate first, and use PVC in wet areas.
Key Takeaways
- Beadboard is vertical, narrow-board paneling with a small groove between boards.
- Panels cover a wall faster; individual planks look more traditional but take longer.
- MDF and solid wood suit dry rooms; PVC is safer for damp areas.
- A level first panel, nails into studs, and neat trim matter more than speed.
- Caulk, filler, primer, and paint turn a good installation into a finished wall.
What Is Beadboard?
Beadboard is wall paneling made from narrow vertical boards joined by a tongue-and-groove edge, with a small groove between each board. It is sold as sheets or individual planks, often as wainscoting on the lower part of a wall, but it can also cover a full wall. If you are still choosing the overall look, browsing wall design ideas can help you compare beadboard with flat panels and board-and-batten before you buy.
What Is the Best Beadboard Material for My Room?
Start with the room. Solid wood, usually pine, looks most authentic and can be stained or painted, but it needs sealing and can move as humidity changes. MDF is smooth and easy to paint in dry rooms, yet standard MDF swells badly if it stays wet. Moisture-resistant MDF is better for rooms that are sometimes damp, but it is still not waterproof. PVC, also sold as vinyl beadboard, is the most forgiving choice for a bathroom, laundry room, or basement wall that may get damp.
| Material | Best for | Moisture tolerance | Watch out for |
|---|---|---|---|
| Solid wood | Dry living rooms and bedrooms | Low to moderate | Can warp if humidity swings widely |
| Standard MDF | Dry bedrooms and hallways | Low | Swells and distorts if soaked |
| Moisture-resistant MDF | Rooms that are sometimes damp | Moderate | Still needs sealing; not waterproof |
| PVC / vinyl | Bathrooms, laundry rooms, basements | High | Can look less like real wood |
How Do I Measure and Plan a DIY Beadboard Wall?
Measure the width and height of each wall, sketch it, and mark doors, windows, outlets, and corners. Decide between wainscoting and a full-height wall. A common rule of thumb for wainscoting is about one-third of the wall height, often around 32 inches in a standard room, but furniture and existing trim should guide the final choice. If you are covering a large wall, a Drywall Calculator can help you estimate sheet quantities, although you should still confirm the count against your own sketch, because beadboard sheets, cuts, and waste do not match drywall exactly.
Buy a little more than your measurements suggest. Let wood-based boards sit flat in the room first so they adjust to its temperature and humidity. Published guides vary, from 48 to 72 hours for some panel products to 7 to 10 days for wood boards, so follow your product’s instructions. Remove outlet covers and switch plates, and decide whether to remove the baseboard or fit the beadboard against its top edge.
How Do I Install a DIY Beadboard Wall, Step by Step?
You will need a tape measure, level, stud finder, pencil, circular saw or table saw, jigsaw or multi-tool, brad nailer, panel adhesive and caulk gun, wood filler, 220-grit sandpaper, primer, paint, and trim. Wear eye protection when cutting and keep saw guards in place.
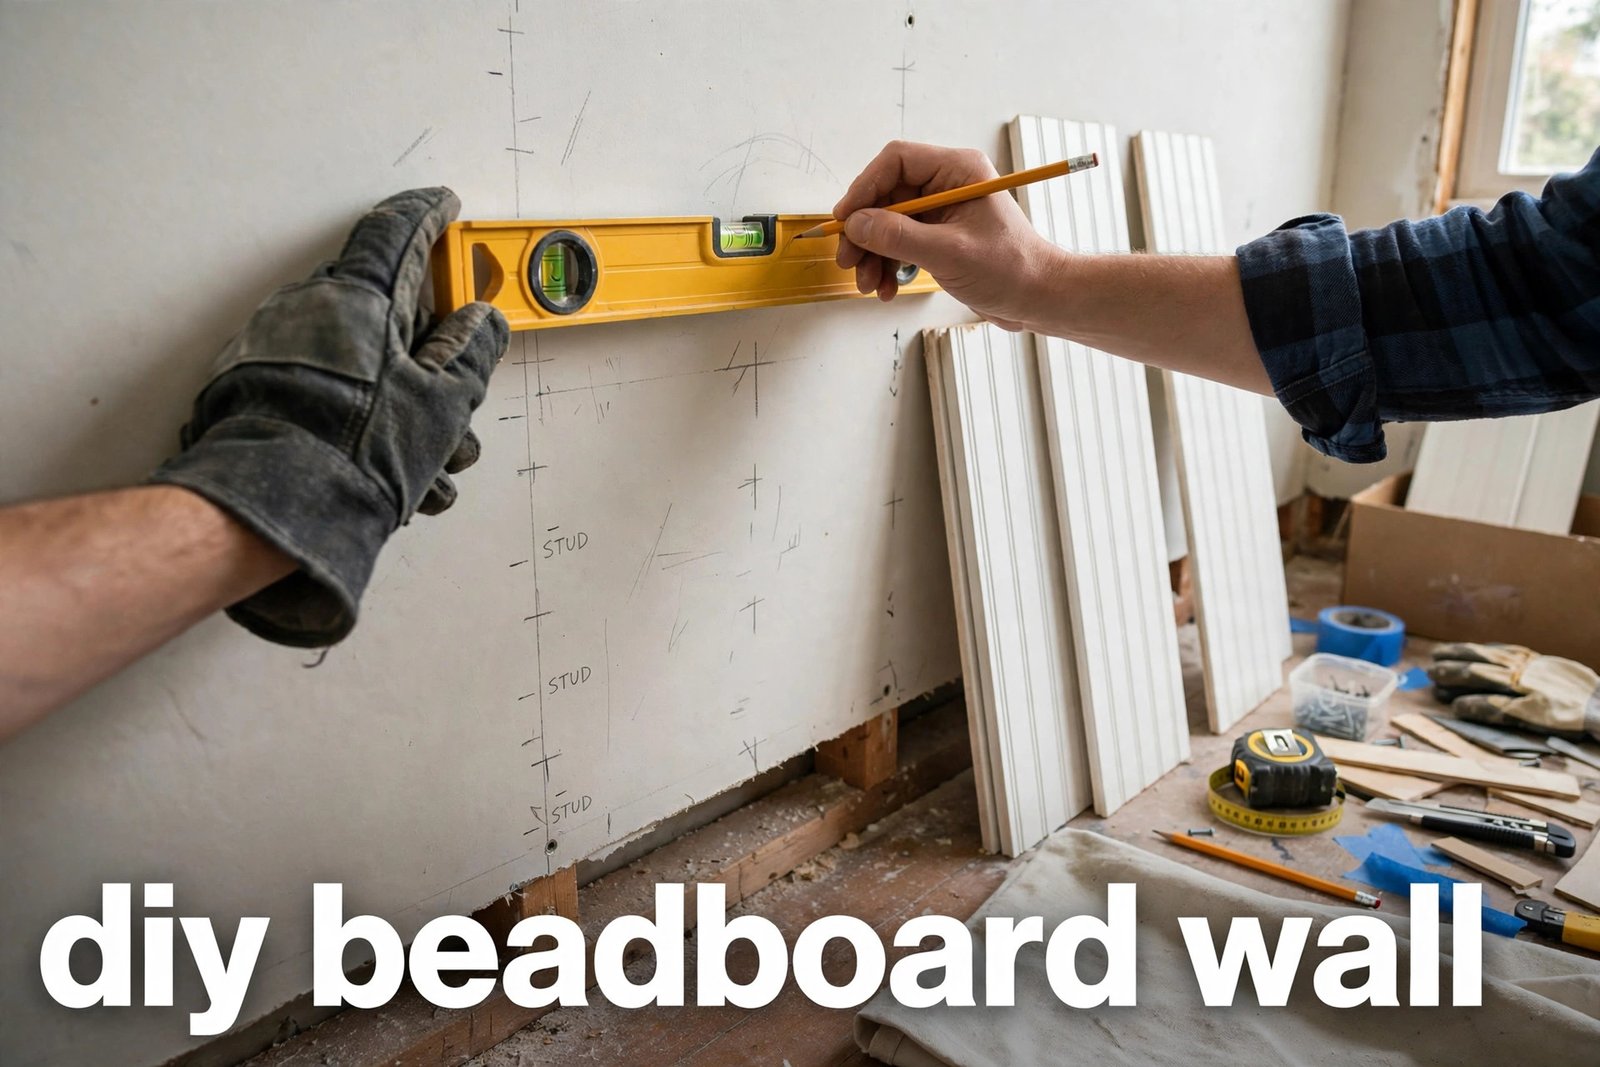
- Prepare the wall. Remove outlet covers, switch plates, and loose trim. Clean the wall and let it dry. Mark the studs with a stud finder.
- Plan the first panel. Draw a level, plumb line at your starting corner. Do not trust the floor alone. Dry-fit the first panel and check that its grooves run straight.
- Cut carefully. Measure twice, cut once, and use a fine-toothed blade to reduce splintering. For outlets, turn off the power at the breaker first, remove the cover, and mark the cutout before cutting. If you are unsure about wiring, ask a qualified electrician; do not work on a live circuit.
- Fix the panel. Apply panel adhesive to the back in a zigzag pattern, press it into place, and secure it with brad nails into the studs, placing nails where trim will cover them when possible. An 18-gauge brad nailer with 2-inch brad nails is a common choice for sheet beadboard. Check the level every two or three panels.
- Work around obstacles. Measure windows, corners, and outlets separately and dry-fit each cut piece before fixing it.
- Add trim. Install a chair rail or cap at the top of wainscoting and a baseboard at the bottom, nailing trim into studs where possible.
- Fill, caulk, and sand. Fill nail holes with wood filler, let it dry, and sand smooth with 220-grit sandpaper. Run paintable caulk along seams, corners, and where trim meets the wall. Do not use silicone sealant where you plan to paint, because paint will not stick to it reliably.
- Prime and paint. Wipe away sanding dust, prime, and apply two coats of durable paint, allowing each coat to dry as directed on the label. As a practical guide, many guides suggest at least 2 hours before priming over a thin caulk bead and up to 24 hours before a final coat over thicker caulk or adhesive, but the label takes precedence. For a kitchen, rustic modern kitchen ideas can help you choose a paint colour and trim style.
Can I Put Beadboard in a Bathroom?
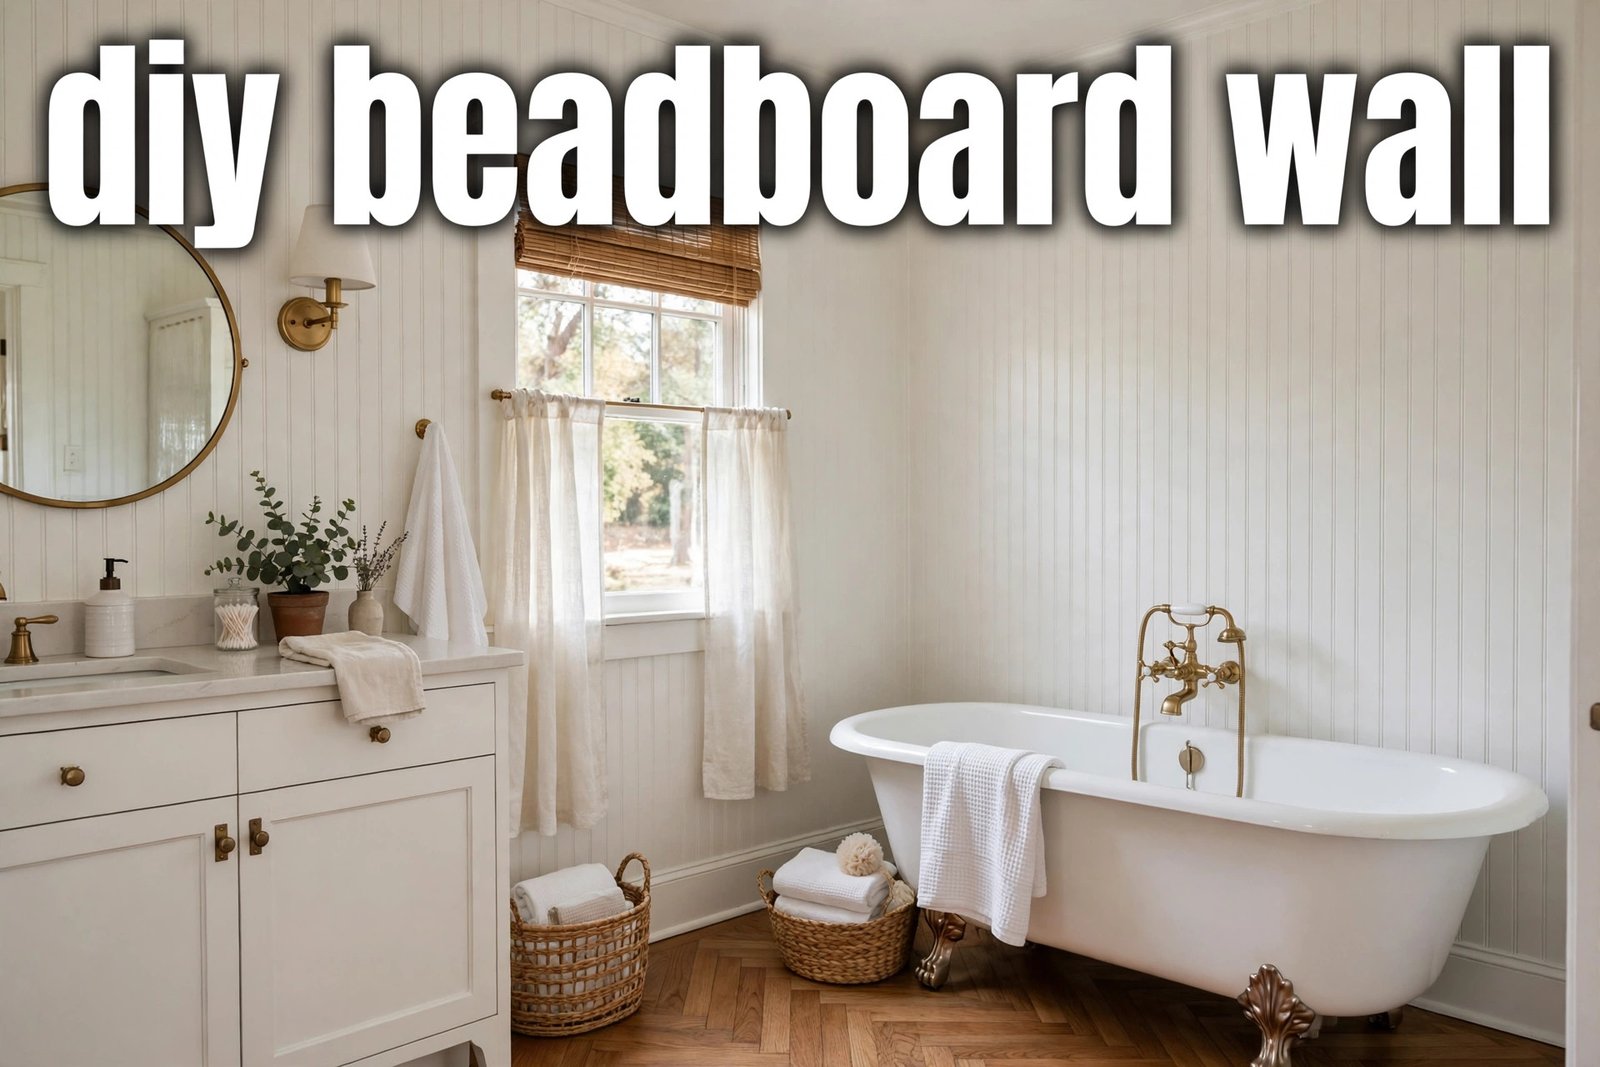
Yes, but material choice matters more here. Standard MDF is a poor choice for a damp bathroom because it can swell and lose its finish. Solid wood needs thorough sealing and a moisture-resistant paint system, and it still carries more risk in a room used daily. PVC beadboard is the safer default, because it resists water absorption, rot, and mildew growth, and it is easy to wipe clean. Seal seams with a paintable, waterproof-suitable caulk where the product allows it, use a washable satin or semi-gloss bathroom paint, and make sure the room has working ventilation. Do not install wood-based beadboard inside a shower or where it gets direct, repeated splashing.
How Do I Fix Common Beadboard Problems?
| Problem | Likely cause | Fix |
|---|---|---|
| Panels drift out of level | First panel was not plumb | Re-establish a plumb line and re-check every few panels |
| Visible seams or gaps | Uneven walls or panels not dry-fitted | Fill small gaps with paintable caulk, let it cure, then paint |
| Nail holes show | Filler was not sanded flush | Fill, dry, sand with 220-grit paper, prime, and repaint |
| Paint peels in a damp room | Wrong material or poor sealing | Fix the moisture source first, then use a moisture-suitable material |
| Splintered cut edges | Dull blade or cutting too fast | Use a fine-toothed blade and hide the edge under trim |
When Is a Beadboard Wall Not the Right Choice?
Avoid beadboard on a wall with ongoing damp, mold, or structural movement until the underlying problem is fixed, because paneling will hide the problem rather than solve it. It is also a poor fit for a wall that needs frequent access to plumbing or wiring behind it, unless you plan removable panels. In a very small, busy room, strong vertical grooves can make the space feel busier, so a single accent wall may work better. If the wall is badly out of plumb, expect extra scribing and trim work, or consider hiring a professional.
Frequently Asked Questions
How long does a DIY beadboard wall take?
For one straightforward accent wall, most DIYers can measure, cut, install, and trim in a weekend, with painting often spilling into a second day. A full room will take longer.
Do I need to remove the baseboards first?
Not always. You can remove baseboards and reinstall them over the beadboard, or leave them in place and fit the beadboard against the top edge, finishing the joint with trim or caulk.
Should I paint beadboard before or after installation?
Either approach can work. Painting before installation avoids brush marks on the wall, but cut edges and nail holes still need touching up. Painting after installation gives a more uniform finish, provided you prime first and work paint into the grooves with a brush.
Can beadboard go over drywall?
Yes, provided the drywall is sound, dry, and firmly fixed. Use panel adhesive plus brad nails into studs where possible, and check for pipes and wiring before nailing.
What height should beadboard wainscoting be?
There is no single correct height. A common starting point is about one-third of the wall height, often around 32 inches in a standard room, but furniture and existing trim should guide the final choice.
How do I clean a beadboard wall?
Dust the grooves with a soft brush, then wipe with a damp cloth and mild cleaner. Avoid soaking wood-based beadboard.
Conclusion
A DIY beadboard wall works best when the material suits the room, the first panel is level, and the finishing steps are not skipped. Plan the layout, fix panels into studs, add clean trim, and give caulk, primer, and paint time to dry. For more home ideas, visit HOMEZEL.