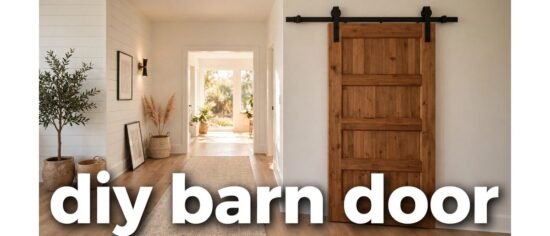
A diy barn door is a sliding panel hung from a wall-mounted track above the opening, saving floor space a swinging door needs. Build or buy a panel larger than the opening, mount the track into studs or a header board, then hang the door with a floor guide.
Key Takeaways
- A barn door slides in front of the wall, so it needs clear wall space beside the opening, not floor space to swing.
- Size the panel larger than the opening, with overlap on both sides.
- Anchor the track into studs or a header board, never into drywall alone.
- Choose hardware rated above the finished door weight, including trim and handle.
What Is a DIY Barn Door?
A diy barn door is a panel hung from rollers on a track above a doorway. Unlike a hinged door, it needs no floor space to swing open, which suits pantries, closets, and home offices. The trade-off: it hangs in front of the wall, not inside a frame, so small gaps remain and it seals sound, light, and smells less tightly.
How Big Should a DIY Barn Door Be?
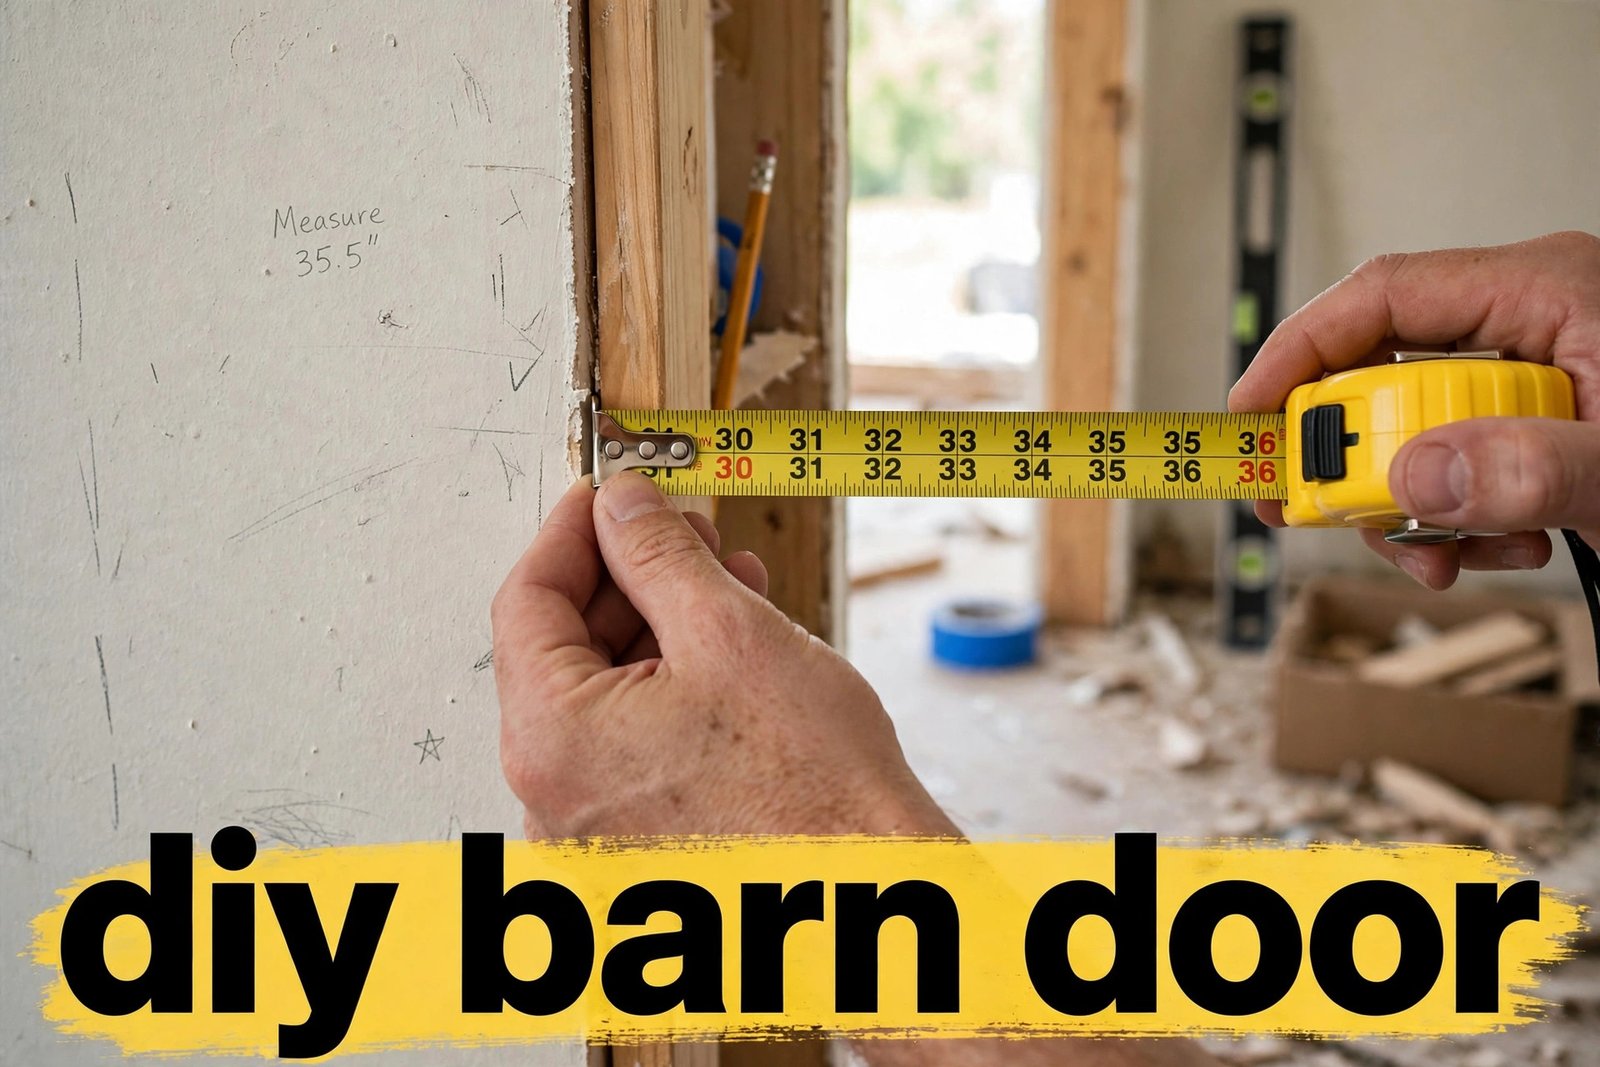
Measure width at three heights and height on both sides, because walls are rarely square. If trim frames the opening, measure to its outside edges. Make the door wider than the opening: guides suggest adding 2 to 4 inches to the width and about 1 inch to the height, or width plus 4 inches for a standard room and plus 6 inches for a bedroom or bathroom, plus 1 inch in height. Example: a 36 by 80 inch opening needs about 40 by 81 inches, or 42 inches wide for a bedroom.
The track needs space too: a common rule is a track at least twice the door width, plus clear wall beside the opening at least as wide as the door. Keep switches, outlets, and furniture out of the sliding path. If you are reworking the layout, the Square Foot Calculator can help you check the floor area first.
Should I Build the Panel or Buy a Ready-Made Slab?
Building a panel usually means joining vertical boards with horizontal braces and, for a classic look, a diagonal brace. Pine is a forgiving starting point for a first build. Reclaimed boards need de-nailing and a lead-paint check on pre-1978 boards. Buying a ready-made slab saves joinery and gives a flat panel, but adds weight and cost. Whichever route you take, finish every surface before hanging, or humidity may warp the panel. A barn door can suit several interior design styles, from rustic to modern, depending on panel, finish, and hardware.
What Hardware Do I Need, and How Strong Must It Be?
A basic kit normally includes a track, rollers, spacers, end stops, a floor guide, anti-jump pads, and bolts, plus a handle. You may also need a header board: a solid board fixed across the studs so the track has a continuous anchor surface. Read your kit instructions before cutting, since some kits need a groove in the door bottom for the floor guide.
Strength matters more than appearance. Common kit manuals list maximum weights of about 230 to 330 pounds, while finished doors can weigh from around 80 pounds to well over 200 pounds. Choose a kit rated clearly above your finished panel weight, including trim and handle. Never mount into drywall alone; if track holes miss the studs, fit a header board into at least two studs first.
Table 1: Barn Door Panel and Hardware Choices Compared
| Option | Best for | Watch out for |
|---|---|---|
| Pine board panel | A first build, rustic or painted look | Can bow if left unsealed in damp rooms |
| Plywood or solid-core slab | A flat, modern panel | Weight can push a light kit to its limit |
| Reclaimed wood panel | Character and a rustic finish | Hidden nails, splits, possible lead paint on old boards |
| Steel hardware | Modern and industrial rooms | Cheap rollers can rattle or wear early |
How Do I Install a DIY Barn Door Step by Step?
Work with a second person, wear eye protection and gloves, and keep children and pets out of the area. Read your kit manual first.
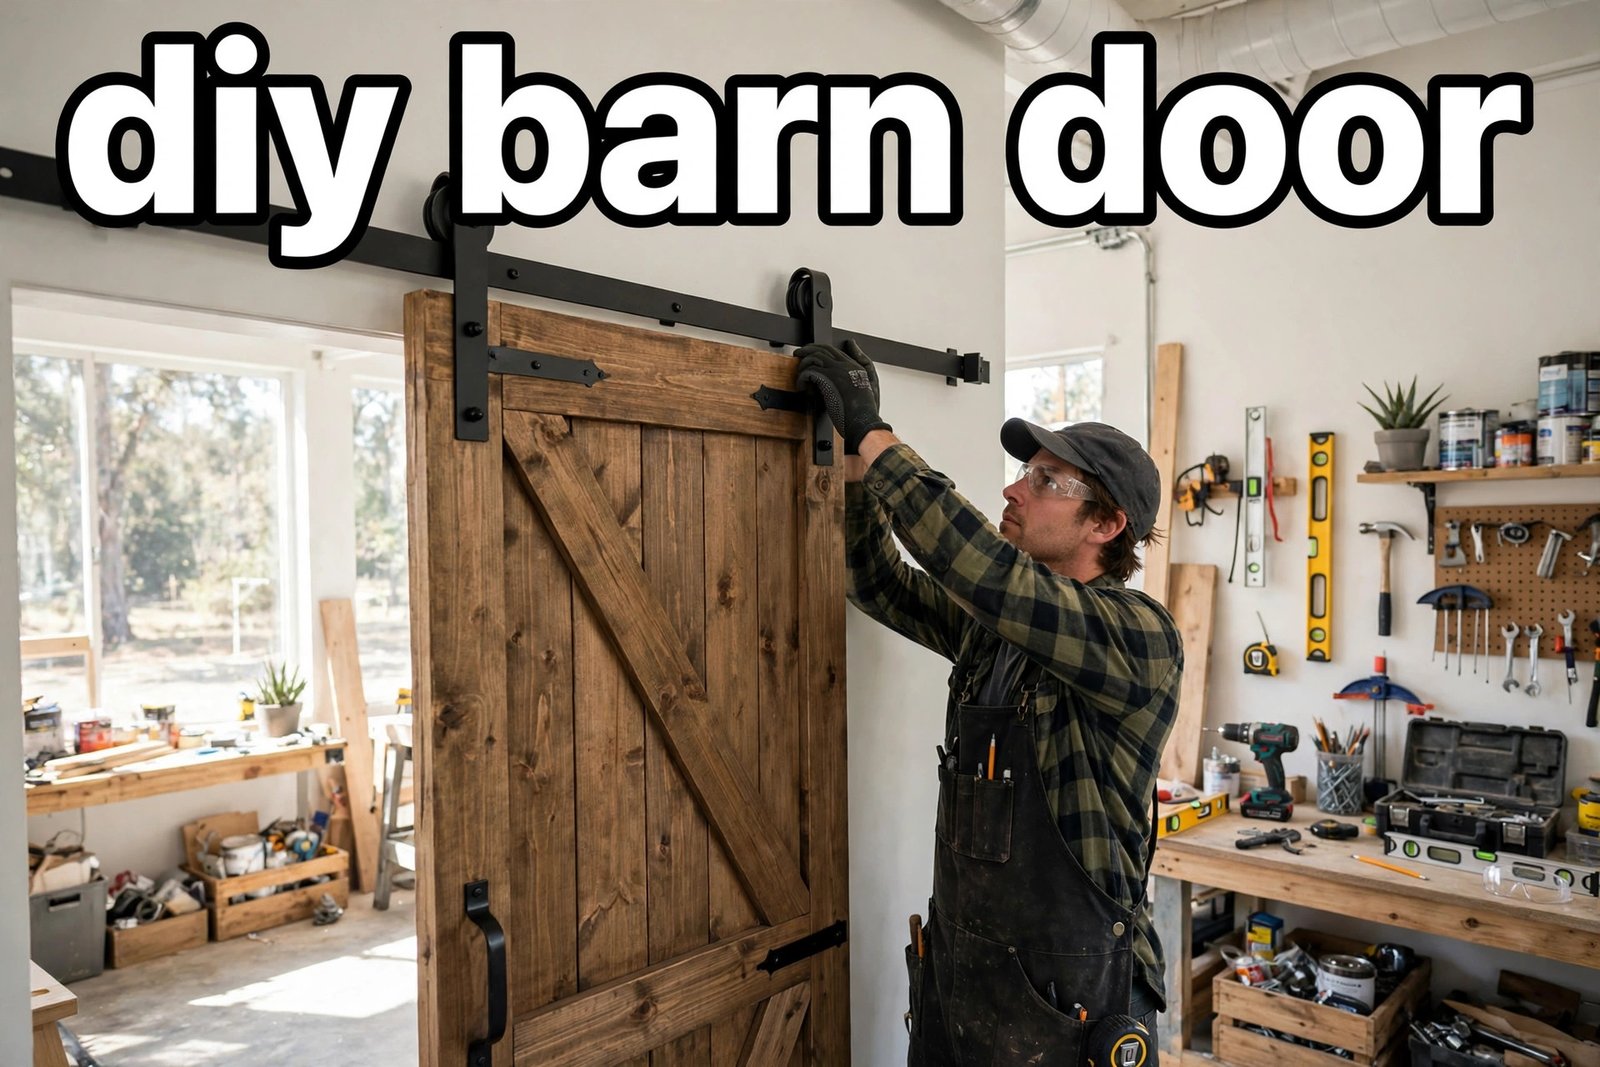
- Measure and mark. Decide panel size from the overlap rules above, and mark the sliding path, checking it will not cover a switch or outlet when open.
- Find the studs. Use a stud finder to mark each stud above and beside the opening, and mark track height from your kit instructions, allowing about half an inch of floor clearance.
- Fit a header board if needed. If track holes miss the studs, fix a solid board at least as long as the track, level, into at least two studs with lag screws, pre-drilling to avoid splitting. For current looks, what interior doors are trending mintpaldecor can give ideas, but do not let a trend override measurements.
- Mount the track level. Fix spacers if required, then bolt the track to the header board or directly into studs, checking level across its full length, since a sloping track lets the door drift.
- Attach the hangers. Following the kit template, bolt rollers to the top of the finished panel, evenly spaced and square. Pre-drill hardwood to prevent splitting.
- Hang the door. With a helper, lift the panel onto the track, then fit anti-jump pads and end stops at both ends.
- Fit the floor guide and handle. Install the floor guide under the door’s path so the bottom stays aligned, and fit the handle at a comfortable height.
- Test and adjust. Slide the door fully open and closed several times, adjusting rollers, stops, and guide until it covers the opening without swaying or drifting. Tighten all fasteners again after testing.
Table 2: Measurement and Clearance Checklist
| Measurement | Practical rule |
|---|---|
| Door width | Opening plus 2 to 4 inches; plus 4 inches standard room, plus 6 inches bedroom or bathroom |
| Door height | Opening height plus about 1 inch |
| Track length | At least twice the door width, or as your kit specifies |
| Floor clearance | About 3/8 inch to 1/2 inch, per kit instructions |
| Hardware rating | Clearly above finished door weight, including trim and handle |
How Much Does a DIY Barn Door Cost, and Where Do People Go Wrong?
Costs vary with wood, hardware, and tools, so treat any figure as a guide, not a quote. Published guides report a typical do-it-yourself build at roughly 100 to 400 dollars. The expensive mistakes are usually a track fixed to drywall, a panel too narrow, a floor guide left out, or a kit rated below the door weight.
When Should You NOT Use a Barn Door?
Do not use one where sound privacy or a tight seal is essential, such as a main bathroom or a home office, because gaps let sound, light, and smells through. Do not rely on one for security: it can take a sliding-door latch, but not a normal lock. Skip it where the wall beside the opening is not free, or where it cannot take the load with no studs and no room for a header board, unless a professional confirms a safe fixing.
Frequently Asked Questions
Can a barn door work for a bathroom?
It can work for an en suite bathroom, with a sliding-door latch and good overlap. It is weaker for a main or guest bathroom, because it leaves gaps and has no standard lock.
Do I need a bottom track?
Most kits use a floor guide, not a full bottom track, and it is strongly recommended to keep the bottom aligned.
Can a beginner build a barn door?
Yes, if you can measure accurately, cut straight, drill pilot holes, and follow a kit manual. A ready-made slab with a matched kit is simplest; a board-built panel needs a full weekend and a helper.
How do I stop a barn door sliding open on its own?
First check the track is level, then check rollers, end stops, and the floor guide. If the floor slopes badly, the opening may be a poor fit.
How do I lock a barn door?
Fit a sliding-door latch where the door meets the wall or trim. A normal lock will not work, and no latch makes it as secure as a locked hinged door.
Conclusion
A diy barn door earns its place when it solves a real space problem: a doorway that needs to open without stealing floor space, where a small gap does not matter. Get the size right, anchor the track into solid wood, and choose hardware rated above the finished weight. For more home ideas, visit HOMEZEL.