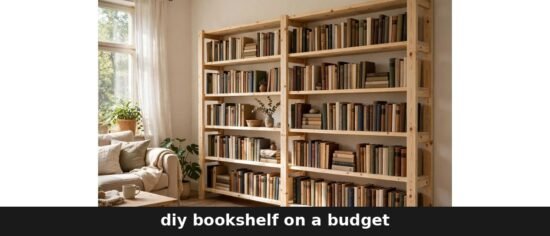
A DIY bookshelf on a budget usually costs far less when you refresh a thrifted shelf or build with pine instead of plywood. Spend first on thick boards, solid anchoring, and back bracing, then save safely on cutting, finish, and simple design.
Key Takeaways
- Refreshing a secondhand shelf is usually cheapest, if the frame is sound and free of mould, pests, and loose joints.
- Pine costs more but stays simple; plywood looks cleaner, yet is rarely the budget option.
- Never save with thinner shelves, wider spans, or weaker wall fixings — those parts keep books safe.
- Hidden costs — screws, sandpaper, finish, delivery — can add a third to a small budget.
- Store cutting, offcut bins, and reclaimed boards cut waste, not strength.
How Much Does a Budget Bookshelf Actually Cost?
There is no single honest price: a tall shelf for paperbacks and a wide shelf for hardbacks are different projects. As a practical estimate for the US in 2026, at typical hardware-store prices that vary by region, small builds fall into three tiers: a refreshed thrifted shelf (mainly cleaning, sanding, paint), a pine build (boards, screws, finish), and a plywood build, which costs most because sheet goods and edge finishing add up fast.
Before choosing a tier, measure the wall and floor space and work out how much shelving it can hold. Using the Square Foot Calculator at this planning stage helps you match the design to the space and estimate how much material it actually needs before buying, so nothing is wasted on boards you never use. List the books, too — light novels allow a simpler layout than cookbooks and storage boxes.
All figures below are practical estimate ranges for a small bookcase — planning aids, not quotes — varying by region, size, and what you already own.
| Route | Practical estimate range (US, 2026) | What the money mainly covers | Main assumption |
|---|---|---|---|
| Refresh a thrifted shelf | $15–$60 | Cleaning, sandpaper, paint or oil, wall anchor | The frame is sound and needs no structural repair |
| Build with new pine boards | $60–$140 | Boards, screws, glue, filler, basic paint finish | Standard board widths, store cutting used, basic tools borrowed |
| Build with plywood | $120–$250 | Sheet material, edge treatment, fixings, finish | One sheet covers the design; cleaner finish expected |
| Hidden extras (any route) | $15–$50 | Extra fixings, sandpaper grits, delivery, replacement bits | Easy to forget — include them from the start |
Keep the design plain — straight cuts and standard widths cost less. If the estimate runs high, shrink the shelf rather than its strength: a smaller, sturdy bookcase you finish beats a large one abandoned halfway.
Where Can You Save Money Without Weakening the Shelf?
Start with cutting. Many hardware stores cut boards to length free or for a small fee, so you do not need to buy a saw for one project. Take a clear cut list, double-check every measurement, and ask for the longest cuts first. A borrowed drill, square, and sander can cover the rest.
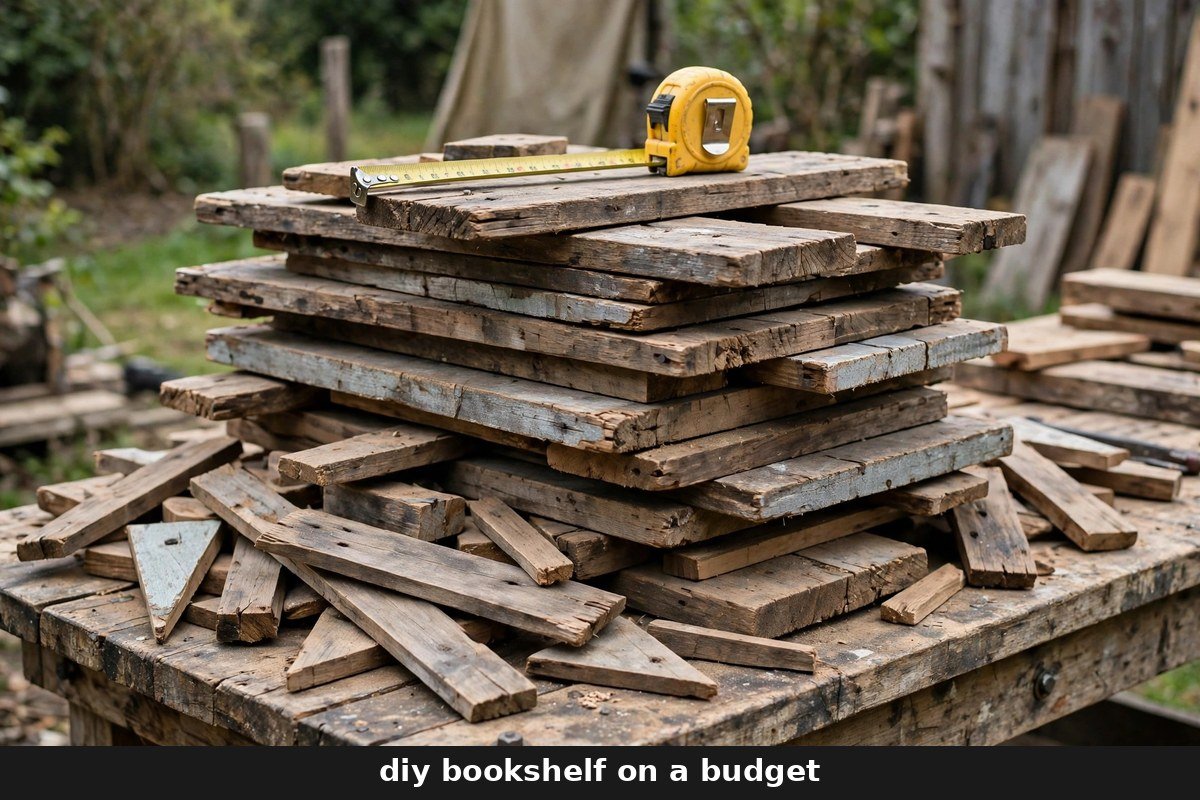
Material choice is the next safe saving. Standard pine is widely available, easy to work, and forgiving of mistakes. Check offcut bins for short shelves and side pieces, and use reclaimed boards if dry, straight, and free of nails and splits. Avoid warped boards even when cheap — you will spend the saving on filler and frustration.
Finish is another safe saving. Paint hides mixed pine, offcuts, and filler far better than a clear coat, and one tin often covers a small bookcase. Like many low-cost room upgrades covered in decoradhouse upgrade tips by decoratoradvice, a bookshelf looks best when money goes on a clean finish and sensible placement, not decorative extras.
Which Parts Should You Never Skimp On?
Shelf boards come first. Thin boards sag, and sagging only worsens under books. For most home bookcases, boards or plywood around 3/4 inch (about 18–19 mm) thick are the practical starting point, with spans kept modest — shorter shelves carry weight far better than long ones. For a wide shelf, add a centre support or a thicker board.
Wall anchoring is non-negotiable, especially with children or pets. A loaded bookcase is top-heavy, and a tip-over can cause serious injury. Use fixings that suit your wall — studs where possible, or anchors rated for the load — and follow the hardware instructions. Saving a few dollars here is never worth the risk.
Back bracing matters more than beginners expect. A back panel, diagonal brace, or secure wall fixing stops the frame racking sideways, and a bookcase that wobbles empty will wobble more loaded. Use screws long enough to pull joints tight, and pre-drill near board ends to reduce splitting.
| Decision | Save here? | Why |
|---|---|---|
| Store cutting instead of buying a saw | Yes | Same straight cuts, no tool purchase for one project |
| Simple design, standard board widths | Yes | Less waste, fewer cuts, cheaper boards |
| Basic paint instead of decorative trim | Yes | Paint hides mixed materials and costs little |
| Offcuts and sound reclaimed boards | Yes, with checks | Dry, straight, nail-free boards keep their strength |
| Shelf board thickness and span | Never | Thin or over-spanned shelves sag and can fail under books |
| Wall anchoring hardware | Never | Prevents tip-over; among the cheapest parts of the build |
| Back panel or bracing | Never | Stops sideways racking and keeps the frame square |
| Screws long enough for the joints | Never | Short or weak fixings let joints loosen over time |
The build itself stays compact: boards cut to size, a square frame of sides, top, and base, back bracing, shelves, sanding, finish, and wall anchoring before loading.
What Hidden Costs Catch People Out?
The board price is only part of the bill. Screws, brackets, wall plugs, sandpaper in several grits, filler, glue, and finish all add up, and none appear in the headline cost people imagine. Delivery is another quiet cost — collecting material yourself is often cheaper.
Tool access can surprise you too. Borrowing is often free, but allow for a deposit, replacement bits, or a return trip if a borrowed sander is unavailable. One good tape measure beats replacing a board cut an inch short.
Plan for one mistake. A small contingency — 10 to 15 percent of your materials estimate, as a planning allowance rather than a rule — covers a split board, extra sandpaper, or a second tin of paint. If the total no longer fits, shrink the shelf, not its board thickness or anchor quality.
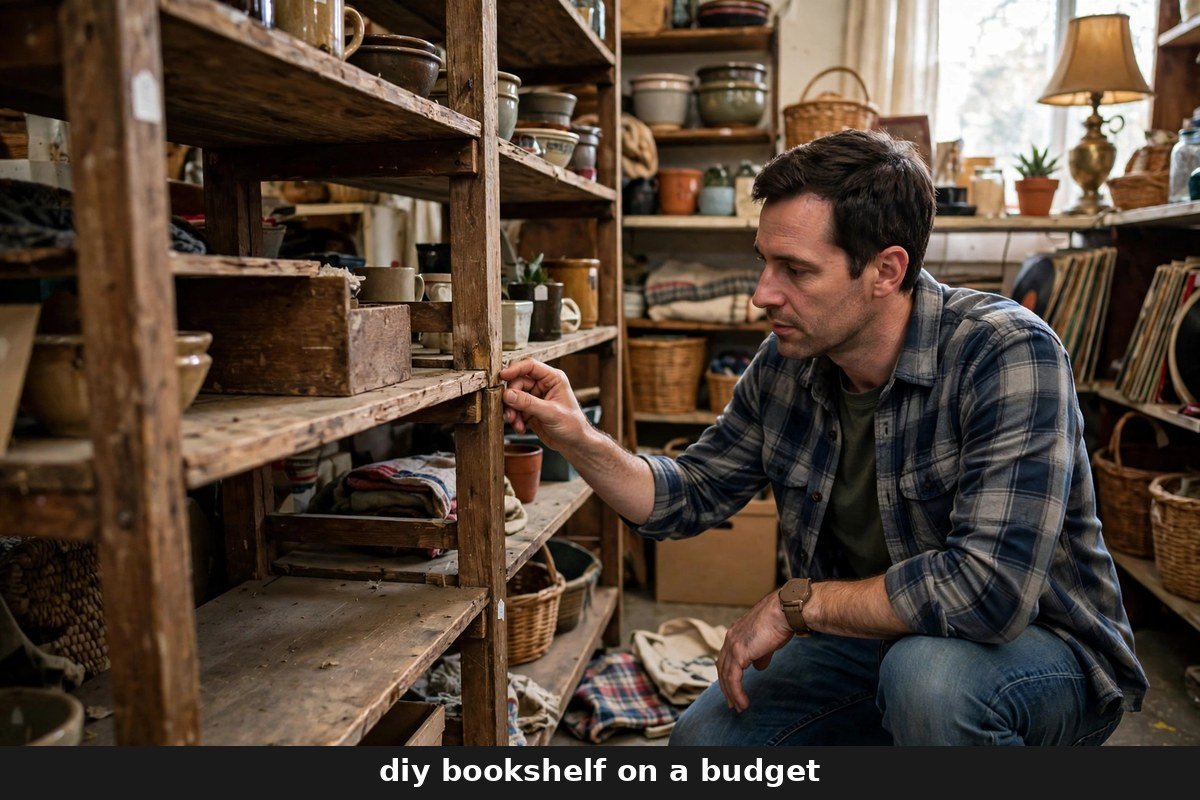
Is a Thrifted or Secondhand Bookshelf a Safe Saving?
Often, yes — provided you inspect it like a structure, not just a bargain. Check for cracks, soft or spongy patches, and joints that move when you gently push the top sideways. Look for deep shelf sag and loose back panels. Reject anything with a strong musty smell, visible mould, or small holes and fine dust suggesting active wood-boring insects — treating those problems can cost more than the shelf.
Clean secondhand furniture thoroughly before it enters a living space, and let pieces air if they smell of smoke or chemicals. Guidance on checking used furniture and caring for your home, such as activepropertycare brendan, is worth reading before you strip or repaint an older piece with a damaged or unknown finish — and if in doubt about that finish, do not sand it dry until you understand what it might contain.
A sound thrifted shelf with a dated colour is the ideal find: the structure is built, and your budget goes on sanding, paint, and a wall anchor. A wobbly one is no saving.
When Does Cheap Become Unsafe or a False Economy?
Cheap becomes a false economy when the saving removes strength, stability, or safety. Ultra-thin boards, particleboard shelves loaded with heavy books in a damp room, and skipped wall fixings all fail predictably. So does the cheapest finish on a shelf wiped often or used by children — it wears quickly and needs redoing within the year.
Budget builds have limits. Very tall shelves, shelves over a bed or desk, and heavy storage need stronger materials and fixings, and sometimes professional help. Damp garages and bathrooms shorten the life of cheap boards, so dry indoor rooms suit a low-cost bookcase best. Leave twisted, oil-stained, or unknown-origin reclaimed boards alone.
Frequently Asked Questions
What is the cheapest way to get a bookshelf?
Refreshing a sound secondhand shelf is usually cheapest — you pay mainly for cleaning, sandpaper, and finish. Check it first for damage, mould, pests, and wobbly joints, and add a wall anchor before loading it.
Is pine or plywood better on a tight budget?
Pine is usually cheaper and simpler for a small, basic shelf, and easy to cut and fix. Plywood stays flatter on wide shelves, but sheet cost and edge finishing push the total higher.
How thick should budget shelf boards be?
Around 3/4 inch (18–19 mm) is a sensible minimum for most book shelves, with spans kept short. For a longer span, use a thicker board or add a centre support rather than letting a thin board carry the load.
Can I skip anchoring a small bookcase to the wall?
No. Even a small loaded bookcase can tip, especially if a child climbs or a pet knocks it. Anchoring hardware is among the cheapest parts of the project and the most important, so never cut it.
Where can I find free or cheap wood and tools?
Check store offcut bins, reuse shops, and clean reclaimed boards from furniture you already own. For tools, ask friends or neighbours, look for tool-lending schemes or hire-shop day rates, and use store cutting instead of buying a saw.
Conclusion
A DIY bookshelf on a budget works best when savings come from planning, simple design, and smart sourcing — never from thinner shelves, weaker joints, or skipped wall anchors. Choose your tier, price every screw and sheet of sandpaper before you shop, and shrink the design rather than its strength if the total runs high. Built that way, even the cheapest version stays safe and useful. For more home ideas, visit HOMEZEL.